Requirements for using Red Hat OpenShift Service on AWS (ROSA)
There are currently two supported credential methods when creating a Red Hat® OpenShift® Service on AWS (ROSA) cluster. One method uses an identity and access management (IAM) user with the AdministratorAccess policy (only for the account using ROSA). The other, more recent, and recommended method uses AWS with STS. In this learning path, we will only be using the STS method.
The following steps will enable you to set up your accounts and environment so you can start deploying and managing your cluster.
Setting up your accounts
- Review the prerequisites before getting started.
- You will need the following pieces of information from your AWS account:
- AWS IAM User
- AWS Access Key ID
- AWS Secret Access Key
- If you do not have a Red Hat account, create one here. Accept the required terms and conditions. Then check your email for a verification link.
Installing the AWS command line interface (CLI)
- Install the AWS CLI as per your operating system.
Enable the ROSA service
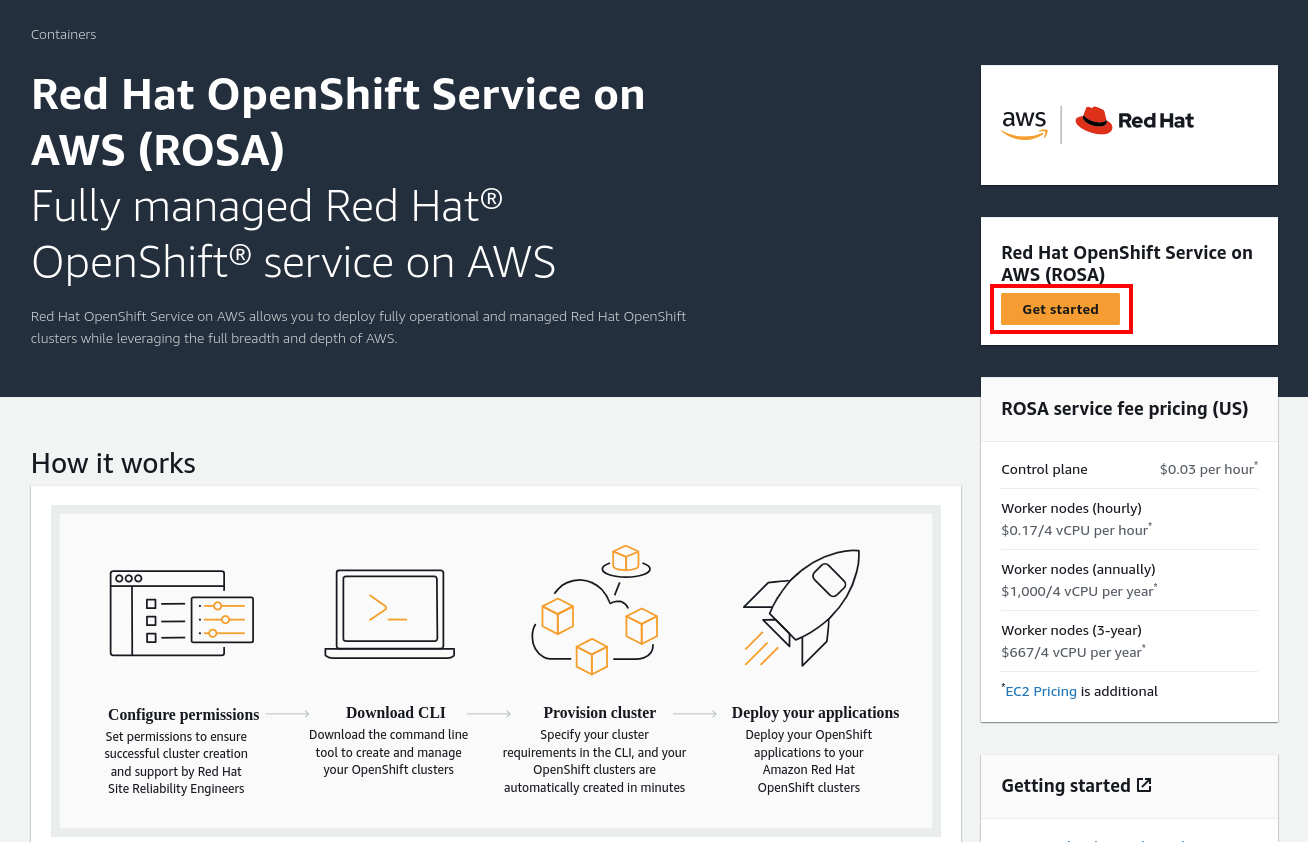
- Enable your AWS account to use ROSA to use ROSA by clicking on the orange “Get started” button on the right. It will direct users to a new page.
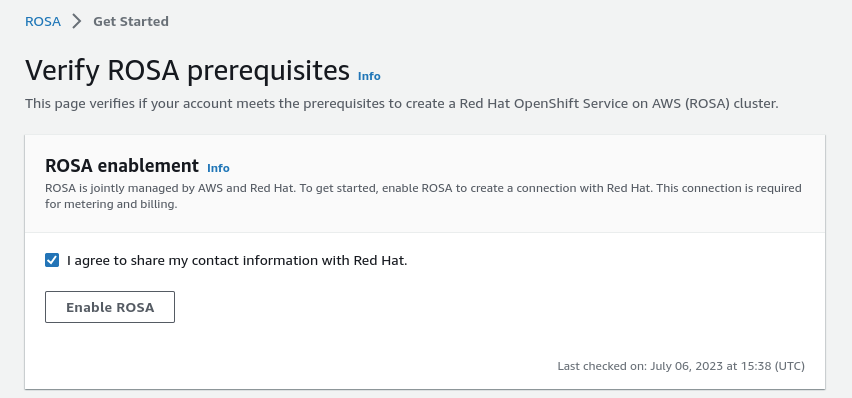
- Once in the new page, click the checkbox to agree to terms and then click the “Enable ROSA” button.
Install the ROSA CLI
- Install the ROSA CLI as per your operating system.
- Download and extract the relevant file for your operating system
- ex:
tar -xvf rosa-linux.tar.gz
- ex:
- Save it to a location within your "PATH".
- ex:
sudo mv rosa /usr/local/bin/rosa
- ex:
- Run
rosa versionto make sure it works and that it returns the version number.
Install the OpenShift CLI
There are a few ways to install the OpenShift (oc) CLI:
- If you have the
rosaCLI installed, the simplest way is to runrosa download oc. Once downloaded, untar (or unzip) the file and move the executables into a directory in your PATH. - Or, you can download and install the latest
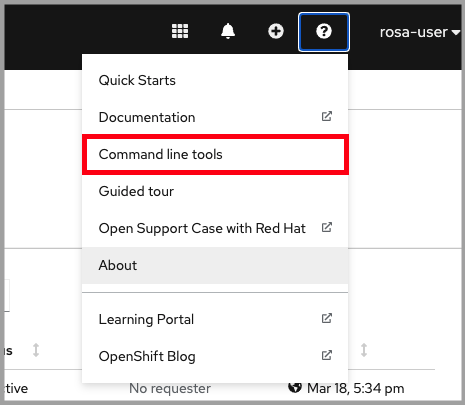
oc. - Or, if you already have an OpenShift cluster you can access the command line tools page by clicking on the Question mark > Command Line Tools. Then download the relevant tool for your operating system.
Configure the AWS CLI
If you've just installed the AWS CLI, or simply want to make sure it is using the correct AWS account, follow these steps in a terminal:
- Enter
aws configurein the terminal. - Enter the AWS Access Key ID and press enter.
- Enter the AWS Secret Access Key and press enter.
- Enter the default region you want to deploy into.
- Enter the output format you want (“table” or “json”). For this guide you can choose “table” as it is easier to read but either is fine.
It should look like the following as an example:
$ aws configureAWS Access Key ID: AKIA0000000000000000AWS Secret Access Key: NGvmP0000000000000000000000000Default region name: us-east-1Default output format: table
Verify the configuration
Verify that the configuration is correct.
- Run the following command to query the AWS API:
aws sts get-caller-identity - You should see a table (or JSON if that’s what you set it to above) like the one below. Verify that the account information is correct.
$ aws sts get-caller-identity
------------------------------------------------------------------------------
|                                GetCallerIdentity                           |
+--------------+----------------------------------------+--------------------+
|    Account   |                   Arn                  |        UserId      |
+--------------+----------------------------------------+--------------------+
|  000000000000|  arn:aws:iam::00000000000:user/myuser  |  AIDA00000000000000|
+--------------+----------------------------------------+--------------------
Ensure the elastic load balancer (ELB) service role exists
Make sure that the service role for ELB already exists, otherwise the cluster deployment could fail. As such, run the following to check for the role and create it if it is missing.
aws iam get-role --role-name "AWSServiceRoleForElasticLoadBalancing" || aws iam create-service-linked-role --aws-service-name "elasticloadbalancing.amazonaws.com"If you received the following error during cluster creation, then the above command should correct it.
Error: Error creating network Load Balancer: AccessDenied: User: arn:aws:sts::970xxxxxxxxx:assumed-role/ManagedOpenShift-Installer-Role/163xxxxxxxxxxxxxxxx is not authorized to perform: iam:CreateServiceLinkedRole on resource: arn:aws:iam::970xxxxxxxxx:role/aws-service-role/elasticloadbalancing.amazonaws.com/AWSServiceRoleForElasticLoadBalancing"Log in to your Red Hat account
- Enter
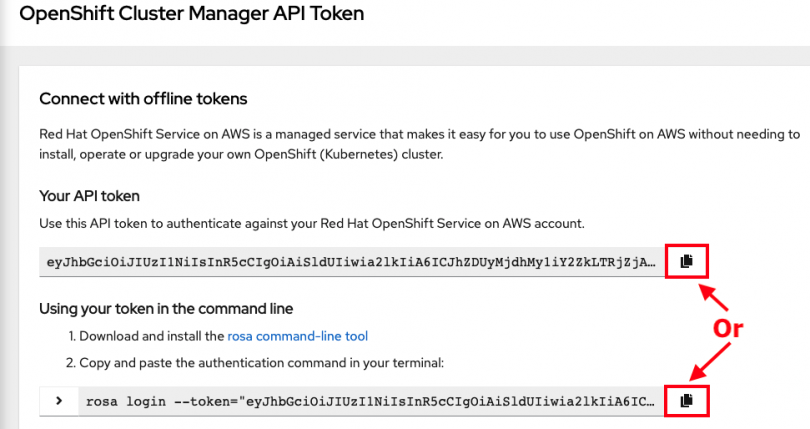
rosa loginin a terminal. - It will prompt you to open a web browser and go to https://console.redhat.com/openshift/token/rosa
- Log in with your Red Hat account credentials.
- Click the "Load token" button.
- Copy the token and paste it back into the CLI prompt and press enter. Alternatively, you can just copy the full
rosa login --token=abc...command and paste that in the terminal.
Verify credentials
Verify that all the credentials set up are correct.
Run:
rosa whoami
You should see an output like below:AWS Account ID: 000000000000 AWS Default Region: us-east-2 AWS ARN: arn:aws:iam::000000000000:user/myuser OCM API: https://api.openshift.com OCM Account ID: 1DzGIdIhqEWy000000000000000 OCM Account Name: Your Name OCM Account Username: you@domain.com OCM Account Email: you@domain.com OCM Organization ID: 1HopHfA20000000000000000000 OCM Organization Name: Red Hat OCM Organization External ID: 0000000- Please check all information for accuracy before proceeding.
Verify quota
Verify that your AWS account has ample quota in the region you will be deploying your cluster to.
Run:
rosa verify quota
It should return a response like:I: Validating AWS quota... I: AWS quota ok. If cluster installation fails, validate actual AWS resource usage against https://docs.openshift.com/rosa/rosa_getting_started/rosa-required-aws-service-quotas.html
See this documentation for more details regarding quotas.
Verify oc CLI
Verify that the oc CLI is installed correctly with:
rosa verify openshift-client
We have now successfully set up our account and environment and are ready to deploy our cluster using AWS’s Security Token Service (STS), a method for granting short-lived, dynamic credentials to your users.
