Requirements for Microsoft Azure Red Hat OpenShift
10 mins
Before deploying your Microsoft Azure Red Hat® OpenShift® cluster, you’ll need to complete a few steps to prepare your accounts and environment.
What will you learn?
- Setting up your accounts
- Installing the Azure CLI
- Verifying quotas
- Setting up resource providers and pull requests
What do you need before starting?
Setting up your accounts
- If you don’t already have a Microsoft Azure account, sign up at https://azure.microsoft.com.
- In order to create a resource provider in the next steps (which gives you the virtual network needed for your cluster), you’ll need to verify you have certain permissions with Azure Red Hat OpenShift by using Azure Active Directory (Azure AD) in the Azure portal.
- Check for Contributor and User Access Administrator permissions or Owner permissions, either directly on the virtual network, the resource group, or the subscription containing it. Instructions for viewing your role assignments can be found here.
- You'll also need sufficient Azure Active Directory permissions, either a member user of the tenant, or a guest assigned with role Application administrator. Instructions for assigning permissions can be found here.
Install the Azure CLI
- For Linux systems
- Import the Microsoft Keys
sudo rpm --import https://packages.microsoft.com/keys/microsoft.asc - Add the Microsoft Yum Repository.
cat << EOF | sudo tee /etc/yum.repos.d/azure-cli.repo [azure-cli] name=Azure CLI baseurl=https://packages.microsoft.com/yumrepos/azure-cli enabled=1 gpgcheck=1 gpgkey=https://packages.microsoft.com/keys/microsoft.asc EOF - Install the Azure CLI.
sudo dnf install -y azure-cli
- Import the Microsoft Keys
- For Microsoft systems: You can install the Azure CLI one of two ways: download the Microsoft Installer (MSI) file or install using PowerShell.
- If you would like to install via the MSI, download the latest version of the Azure CLI here.
- If using PowerShell, you can run:
$ProgressPreference = 'SilentlyContinue';
Invoke-WebRequest -Uri https://aka.ms/installazurecliwindows -OutFile .\AzureCLI.msi;
Start-Process msiexec.exe -Wait -ArgumentList '/I AzureCLI.msi /quiet';
Remove-Item .\AzureCLI.msi
Note: PowerShell must be run as an administrator.
- For MacOS systems: Install the Azure CLI using homebrew.
brew update && brew install azure-cli
Verify quotas
- Log in to the Azure CLI by running az login. This will open a web browser where you can authorize your Microsoft account.
- Verify you have the correct number of Azure resource quotas, in this case Total Regional vCPUs. Change the location if you’re not using “East US.”
az vm list-usage --location "East US" -o table - Azure Red Hat OpenShift requires at least 40 cores to create and run a cluster. The default Azure resource quota for a new Azure subscription is only 10. If you do not have the required number of cores, start by creating an Azure Support Request and fill out the following:
- Set Issue Type to “Service and subscription limits (quotas)”
- Set Quota Type to “Compute-VM (cores-vCPUs) subscription limit increases”
- Click Next Solutions
- Click Enter details
- Set Deployment Model to “Resource Manager”
- Set Locations to “(US) East US”
- Set Types to “Standard”
- Under Standard check “DSv3” and “DSv4”
- Set New vCPU Limit for each (example “60”)
- Click Save and continue
- Click Review + create »
- Wait until the quota has increased.
Register the resource providers
- If you have multiple accounts, specify the subscription ID you want to work with by running:
az account set --subscription <SUBSCRIPTION ID>
If you only have a single account, you can skip this step. - Register the following resource providers:
az provider register -n Microsoft.RedHatOpenShift --wait az provider register -n Microsoft.Compute --wait az provider register -n Microsoft.Storage --wait az provider register -n Microsoft.Authorization --wait
Get a Red Hat pull secret
- Log in to the Red Hat Hybrid Cloud Console to access the Azure Red Hat OpenShift pull secret page.
- Click Download pull secret and save the pull secret in a secure place as a .txt file. You’ll reference it later.
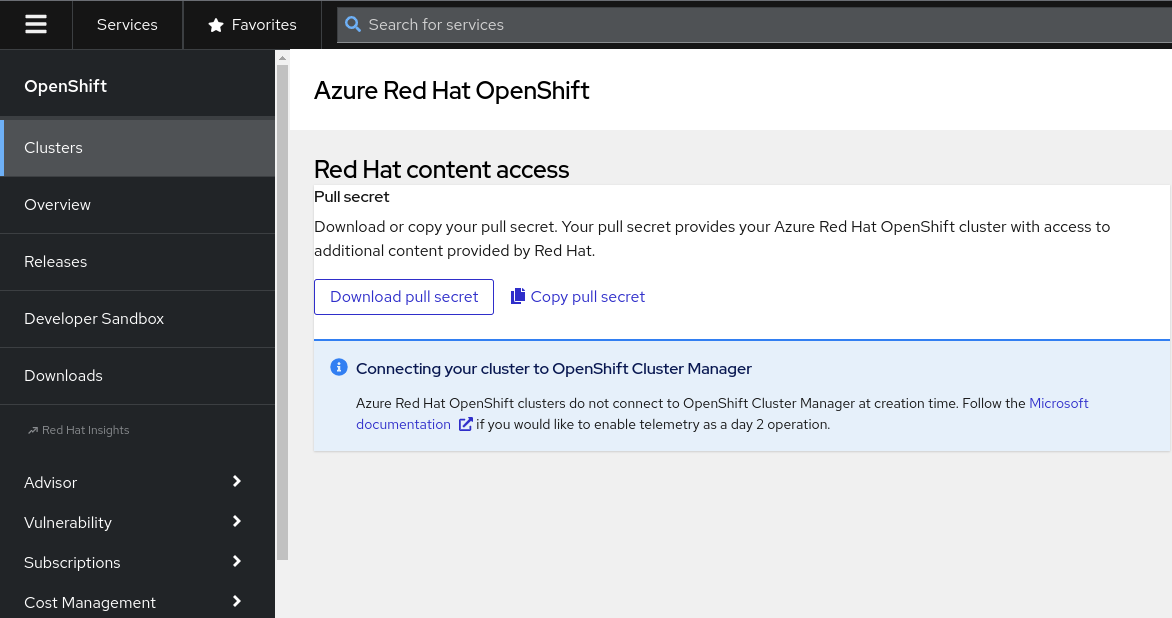
Figure 3. Microsoft Azure Red Hat OpenShift pull secret page in the Hybrid Cloud Console
With these prerequisites fulfilled, you are ready to deploy your first Azure Red Hat OpenShift cluster.
