Integrating Microsoft Azure data into cost management for Red Hat OpenShift
In this resource, we will connect our Microsoft Azure data into the cost management for Red Hat® OpenShift® service and see how we can monitor cost data from different viewpoints.
What will you learn?
- Integrating account information from Microsoft Azure into the cost management service
- Monitoring cost data from different viewpoints
What do you need before starting?
- Installed Microsoft Azure Red Hat Openshift
- Installed and configured the Cost Management Metrics Operator
Prerequisites
Before beginning, you’ll need to prepare the following information by running commands from the Azure Cloud Shell.
Note: You must have a Red Hat account user with Sources Administrator entitlements before you can add integrations to cost management.
- Run the following command to obtain the
Tenant ID:az login az account list az account tenant list
- Run the following command to obtain the
Subscription ID:az account show --query "{ id: id }" | jq '.id' | tr -d '"')
- Run the following command to create the
Resource group. This resource group will be used for storage account and storing exported cost.az group create --name “openenv-jrf2q-sa-alireza” --location eastus
- Run the following command to create the
Storage account. This storage account will be used for storing exported cost files.az group create --name “costmgtsa” --location eastus
- Run the following command to create a
ServicePrincipalwith a Cost Management Storage Account Contributor role.az ad sp create-for-rbac -n "CostManagement" --role "Storage Account Contributor" --scope /subscriptions/Subscription_ID/resourceGroups/ResourceGroup_Name '{"tenant": "tenant", "client_id": "appId", "secret": "password"}'Replace Subscription_ID and ResourceGroup_Name with your value.
Make a note of "client_id": appId, "secret": password, which will be used later in this document.
- Run the following command to create a Cost Management Reader Role:
az role assignment create --assignee "appId" --role "Cost Management Reader" --scope "ResourceGroup"
To create the Azure cost export, log in to the Azure Portal and search “Cost export” in the Search box.
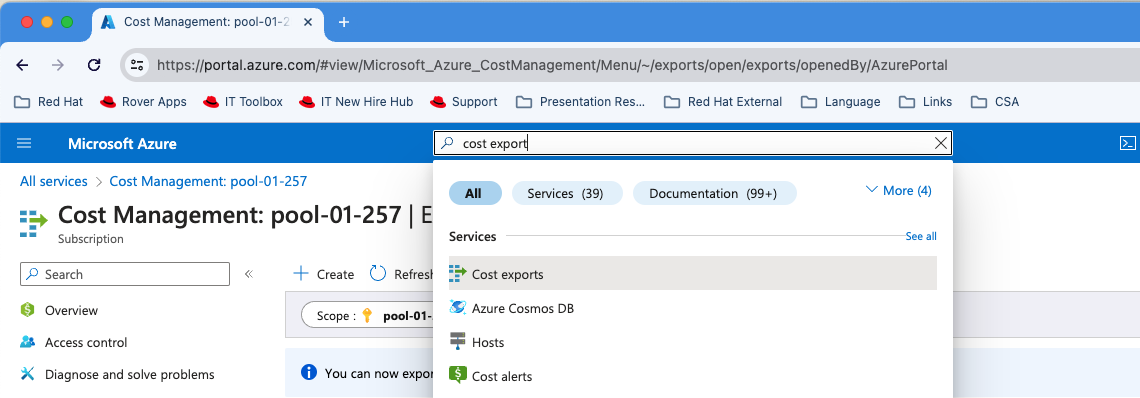
Search "cost export" in the Azure Portal search bar. Fill in the requested information, and create the export.
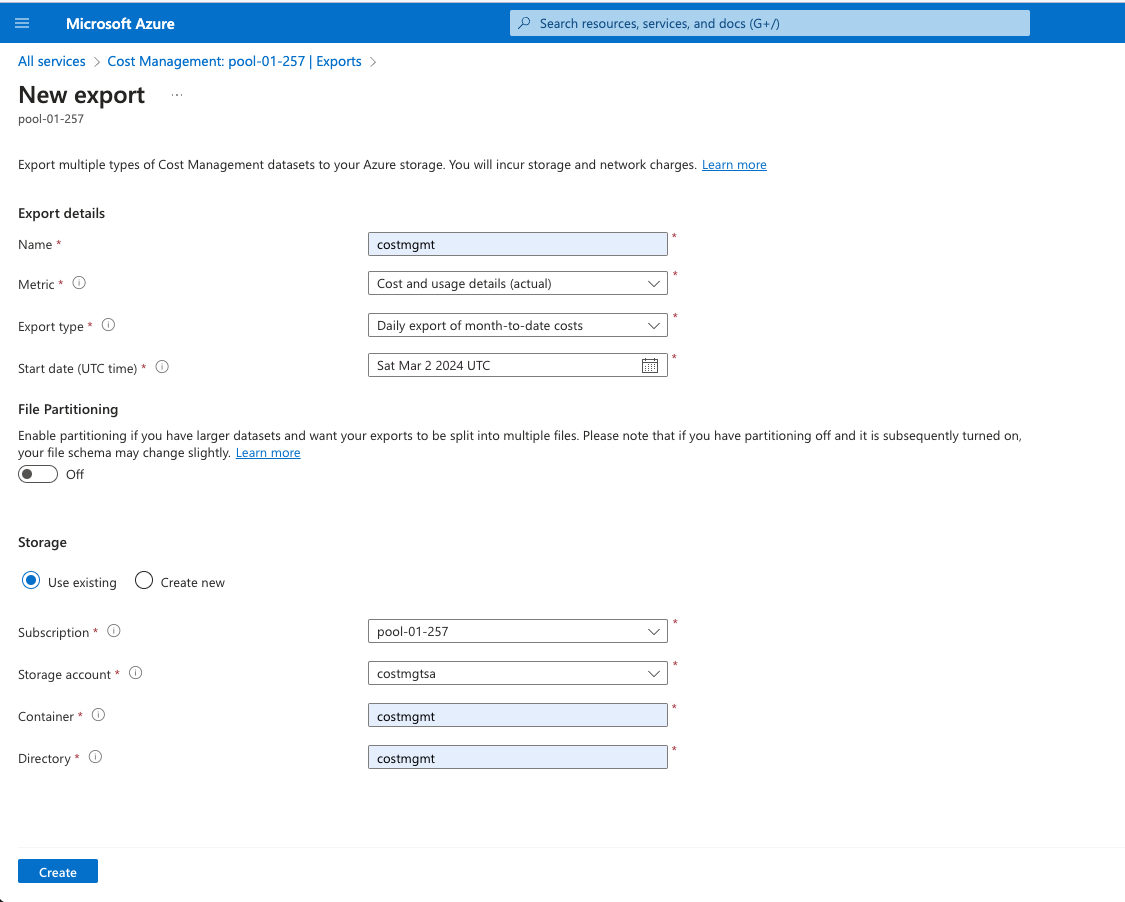
Fill out relevant information in the new cost export wizard.
The export job will run daily and store the export file in the storage account for further processing by openshift cost management.- Run the following command to get the cost export you just created.
AzureCost export scope
Integrating data
- Log in to http://console.redhat.com.
Under All Services > Integrations and Notifications, click Integrations.
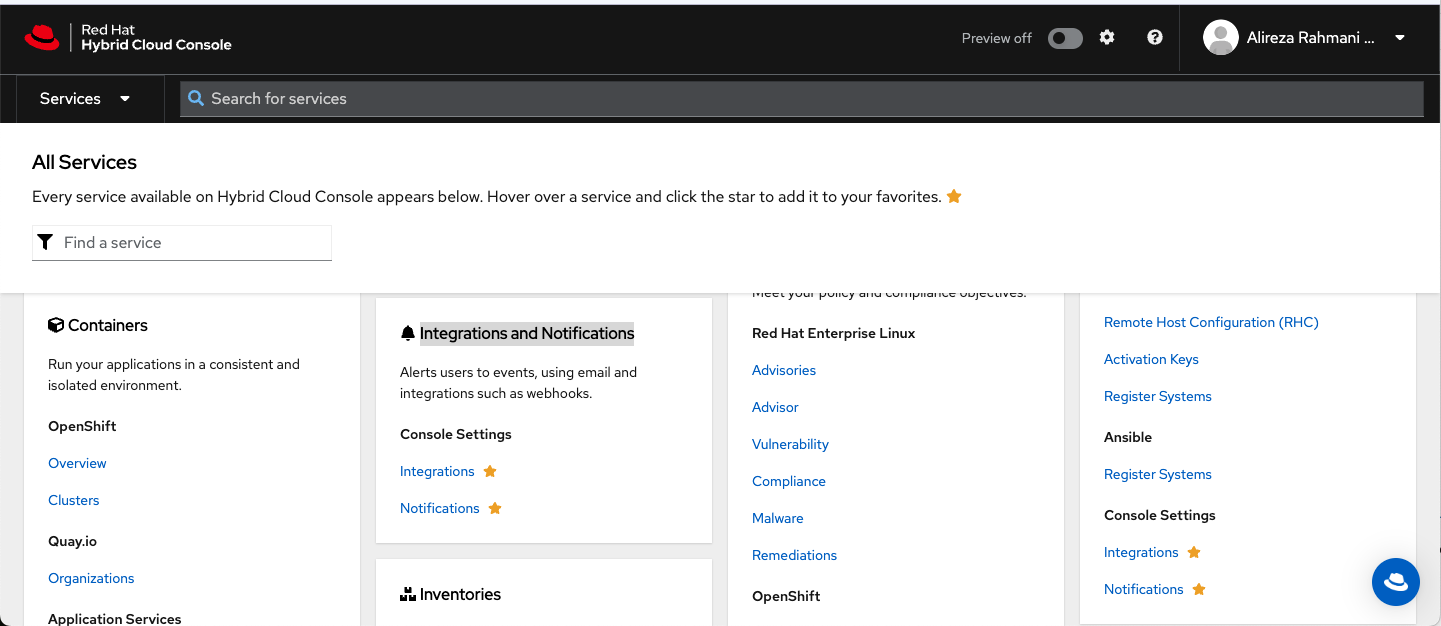
Go to Integrations in the Hybrid Cloud Console. Click Settings > Integrations > Cloud > Add Integration.
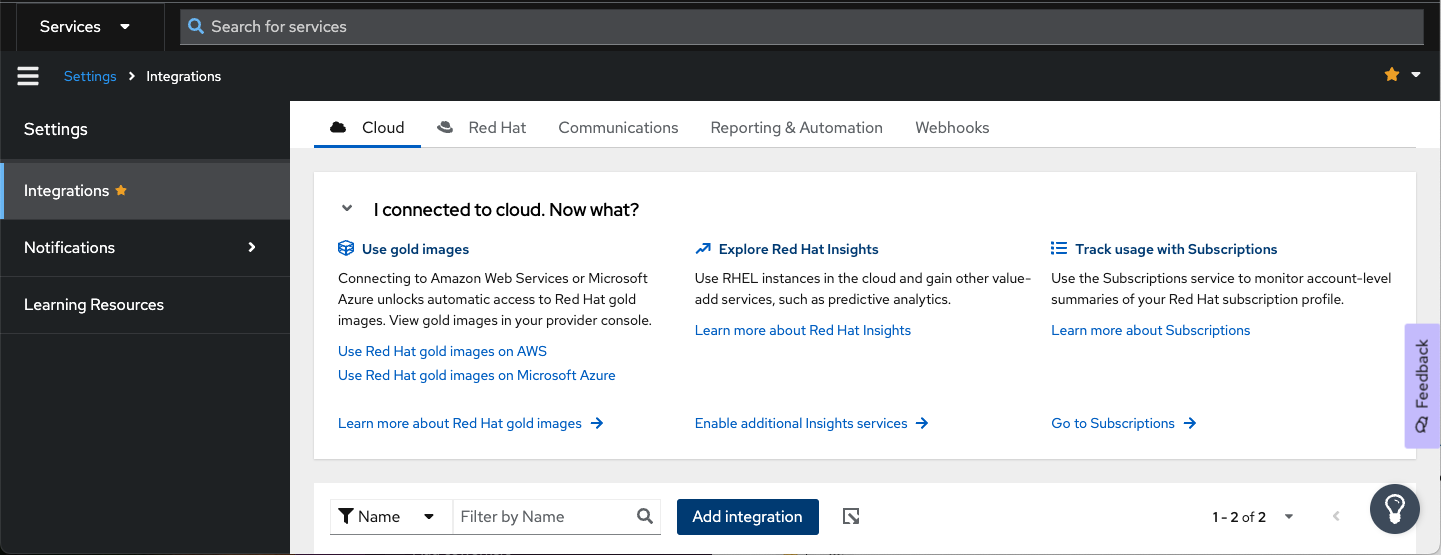
Click Add Integration to add your Azure data integration. Choose Microsoft Azure and click Next.
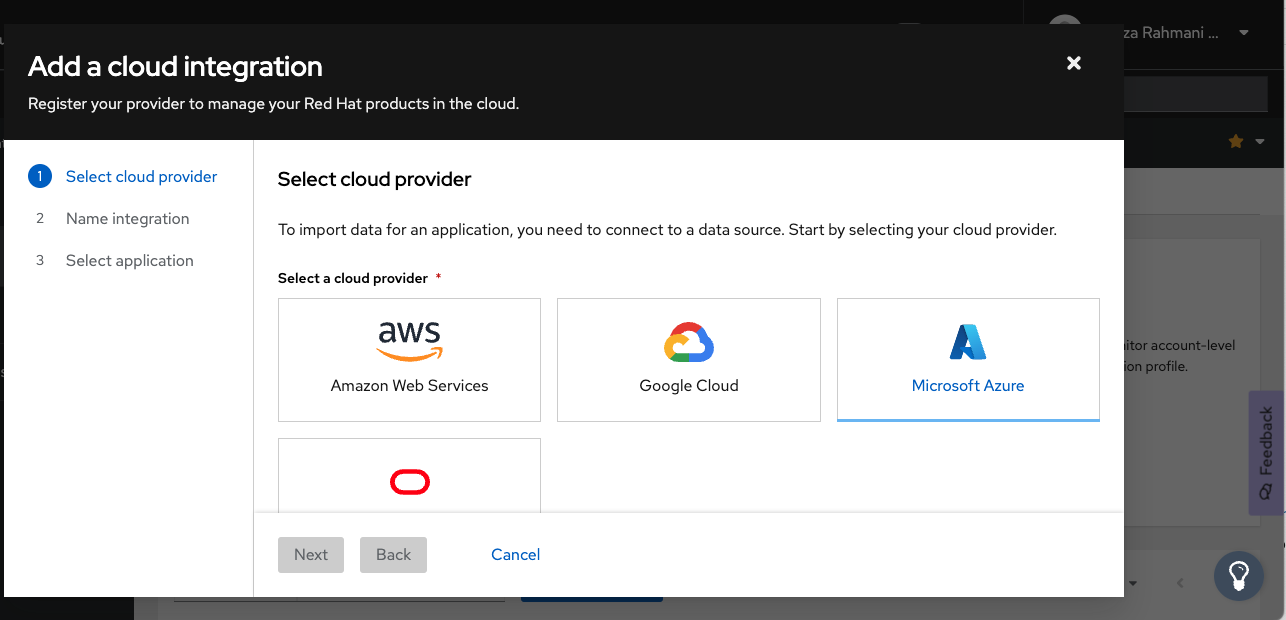
Choose Microsoft Azure as your cloud provider. Use a unique integration name. Click Next.
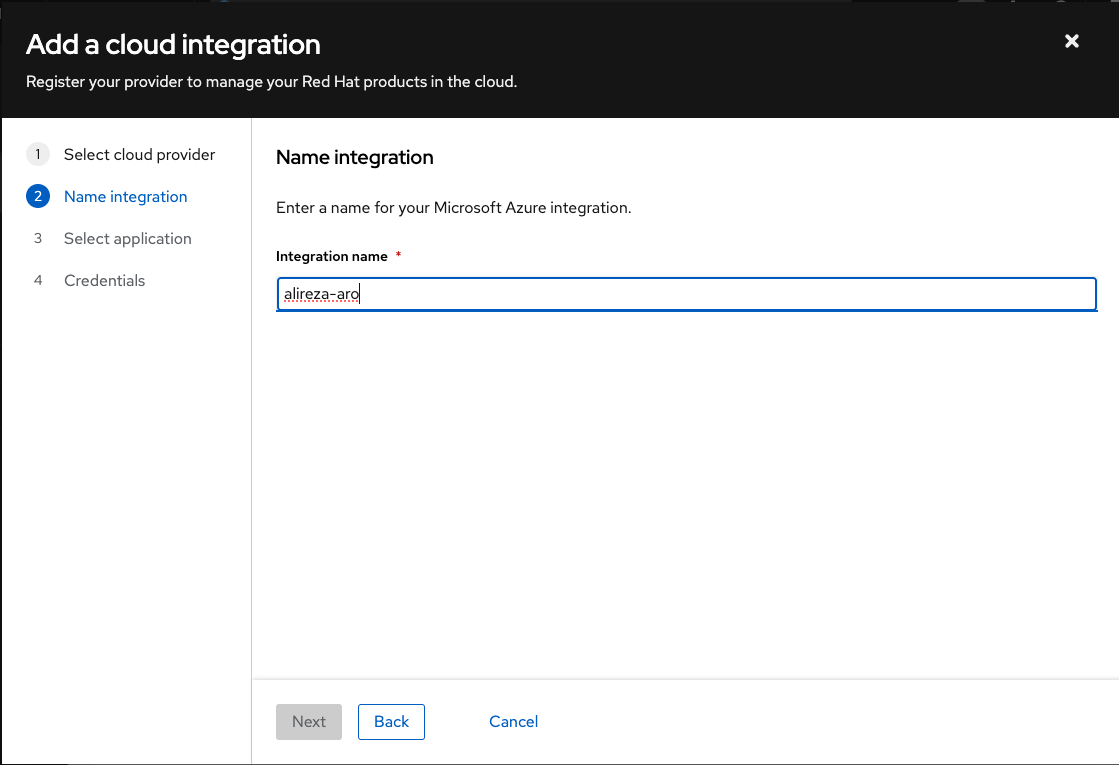
Choose a unique name for your integration. Select Cost Management as your application. Click Next.
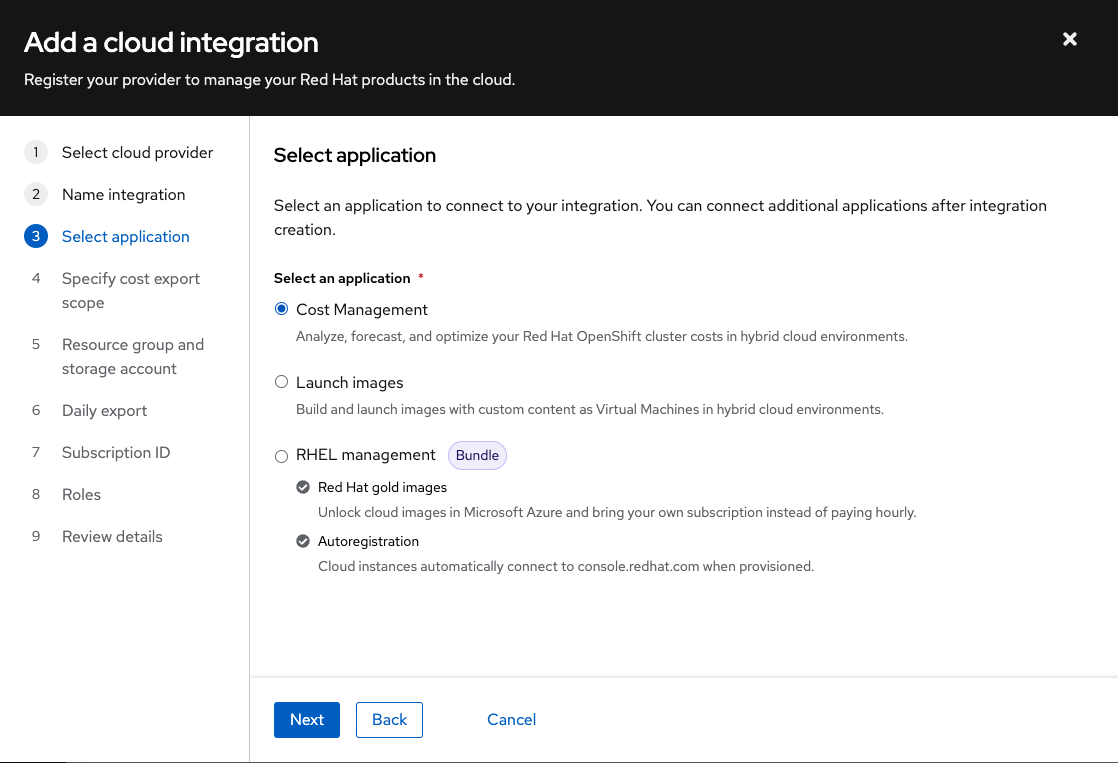
Select Cost Management as your application. In the Scope level, choose Subscription.

Select Subscription in the Scope section. Fill the Resource group name and Storage account name with values you set in the prerequisites. Then, click Next.
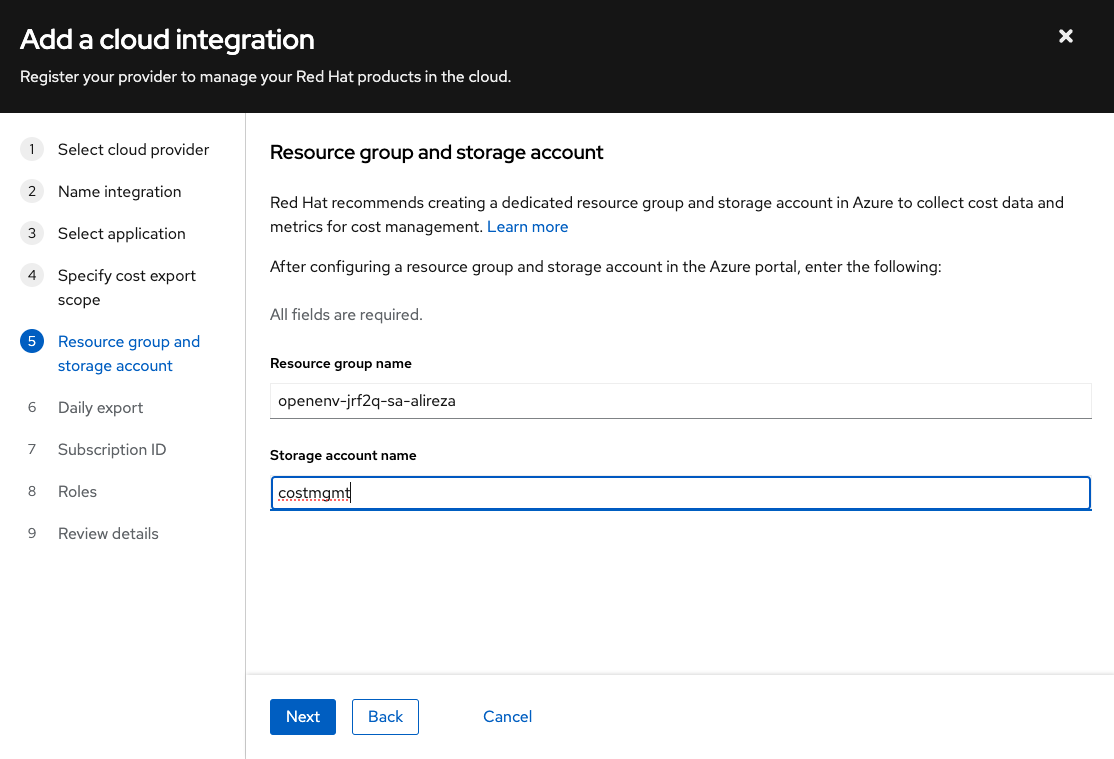
Add the Resource group name and Storage account name values from the prerequisites steps. To fill out the Cost export name, use the cost exports you created in the Prerequisites section. Click Next.
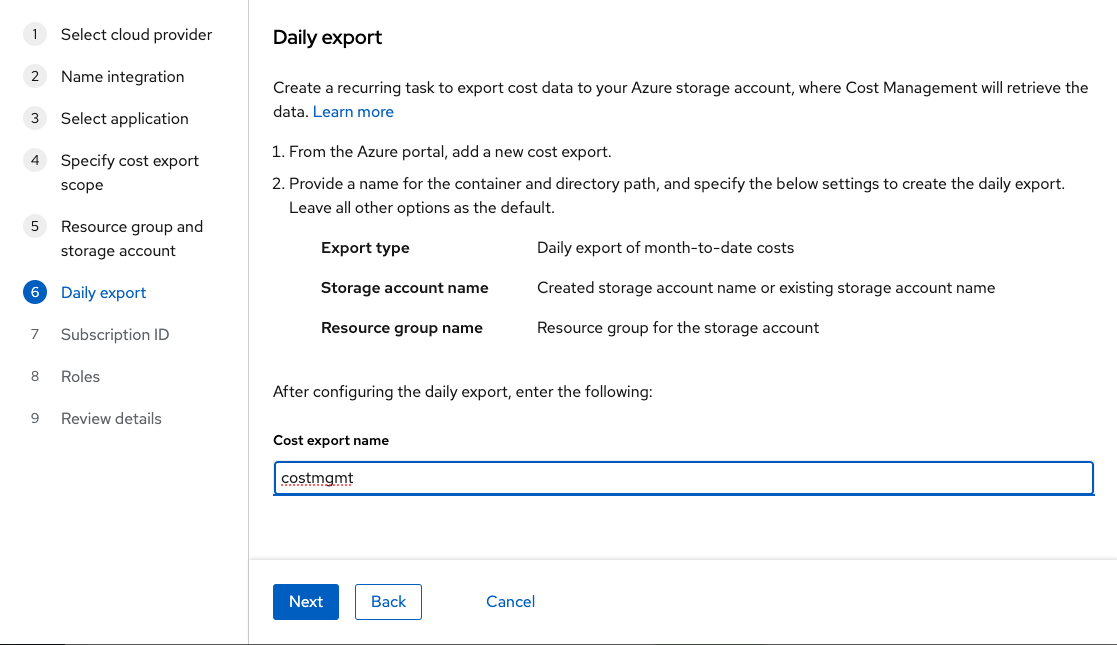
Add the cost export name from the prerequisites steps. Fill in the Subscription ID field with information from the prerequisites. Click Next.
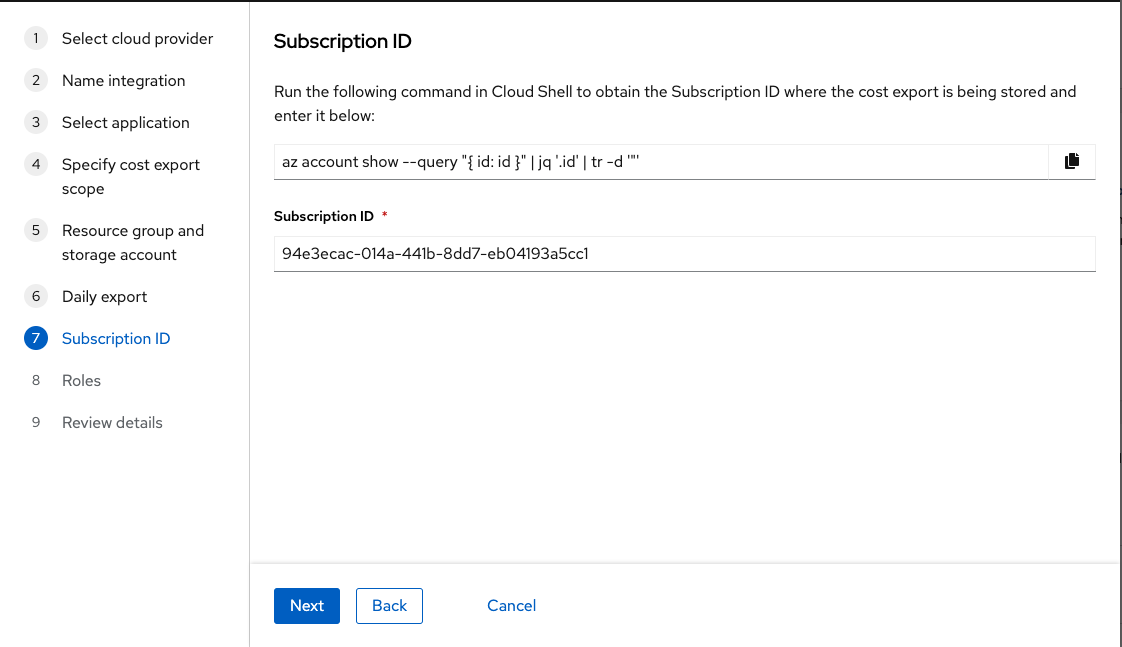
Add the Subscription ID from the prerequisites steps. - Fill in Tenant ID, Client ID and Secret from the value from the prerequisite steps. Click Next.
Note: Skip running the
az ad sp create-for-rbac and az role assignmentcommands. We have run them already in the prerequisites.
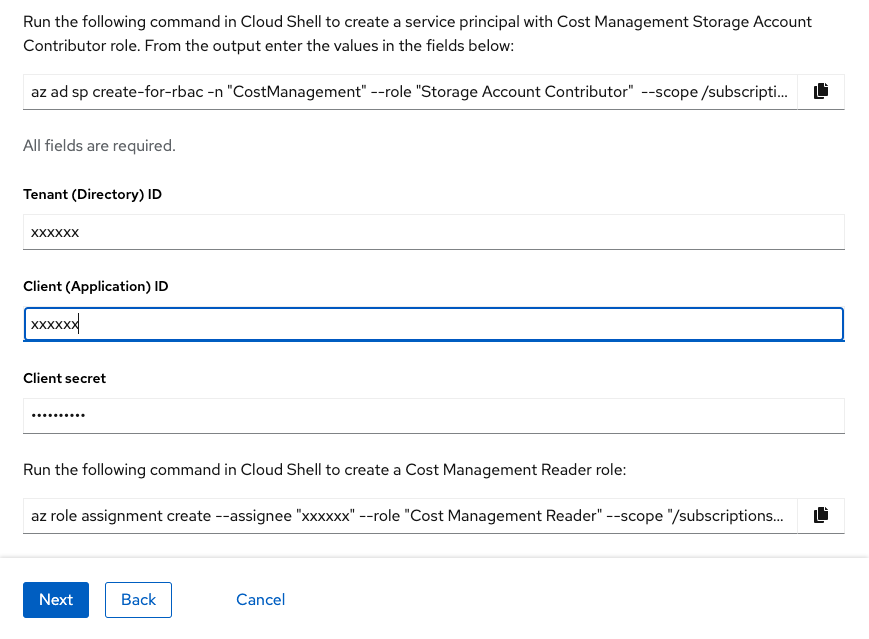
Add the Tenant ID, Client ID and Secret from the prerequisites step.
Review all details and click Add.
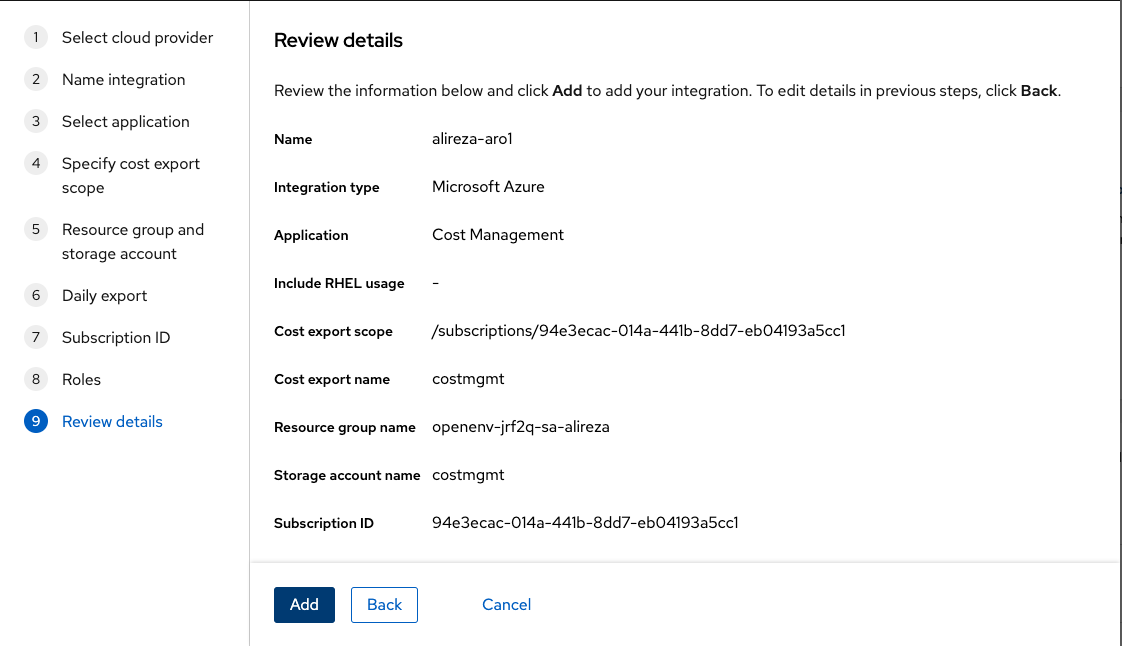
Review all the details from the previous steps. Confirm that your integration has been added.
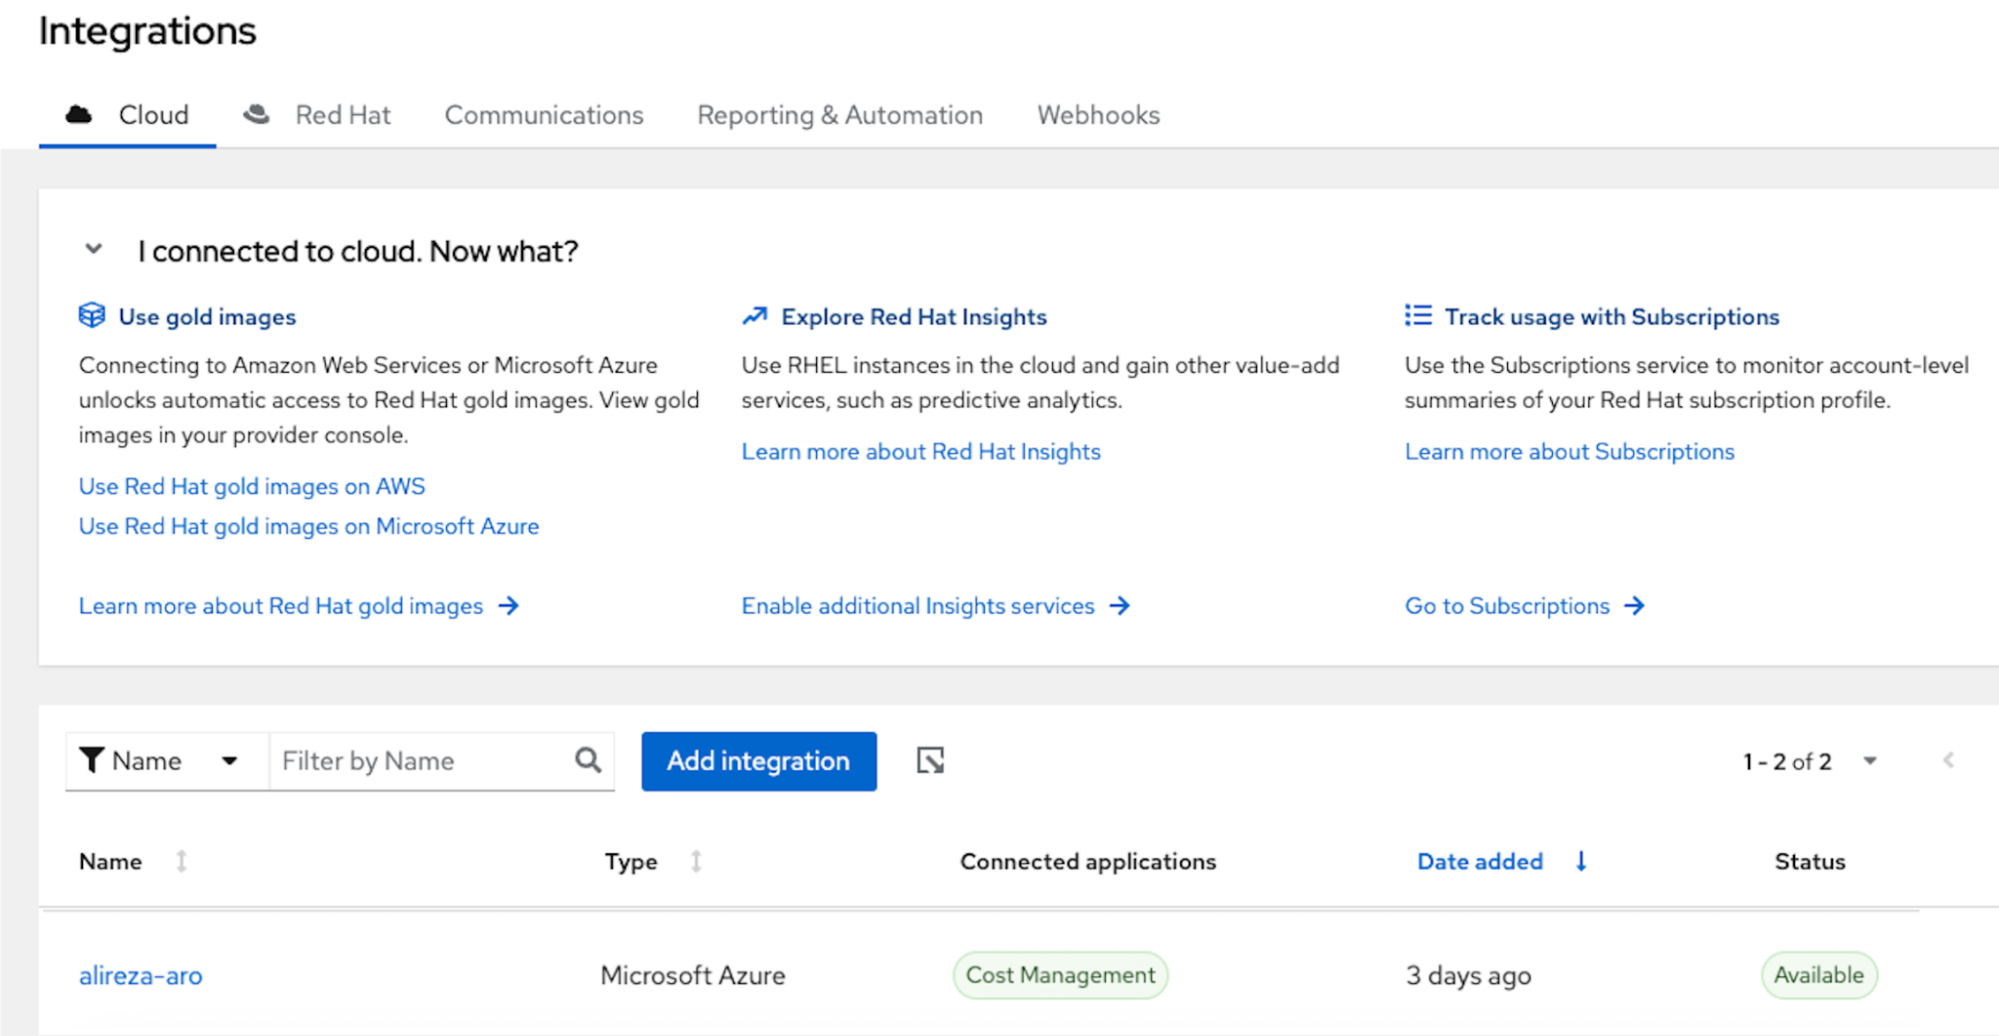
The new integration will show up in your Integrations list. From the Console, go to All services > Subscriptions and Spend > OpenShift > Cost Management.
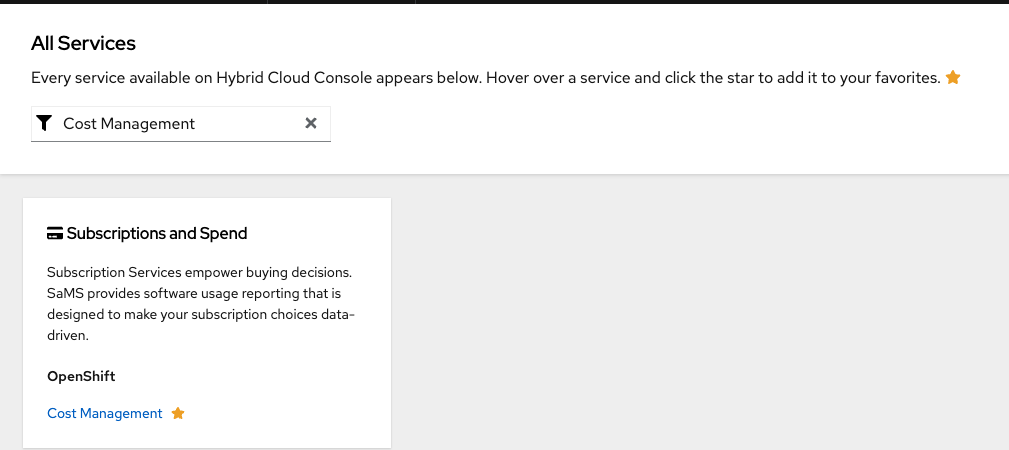
Access the Cost Management service from the All Services menu. - You should now be able to explore your Cost Management dashboard, including:
All OpenShift costs:
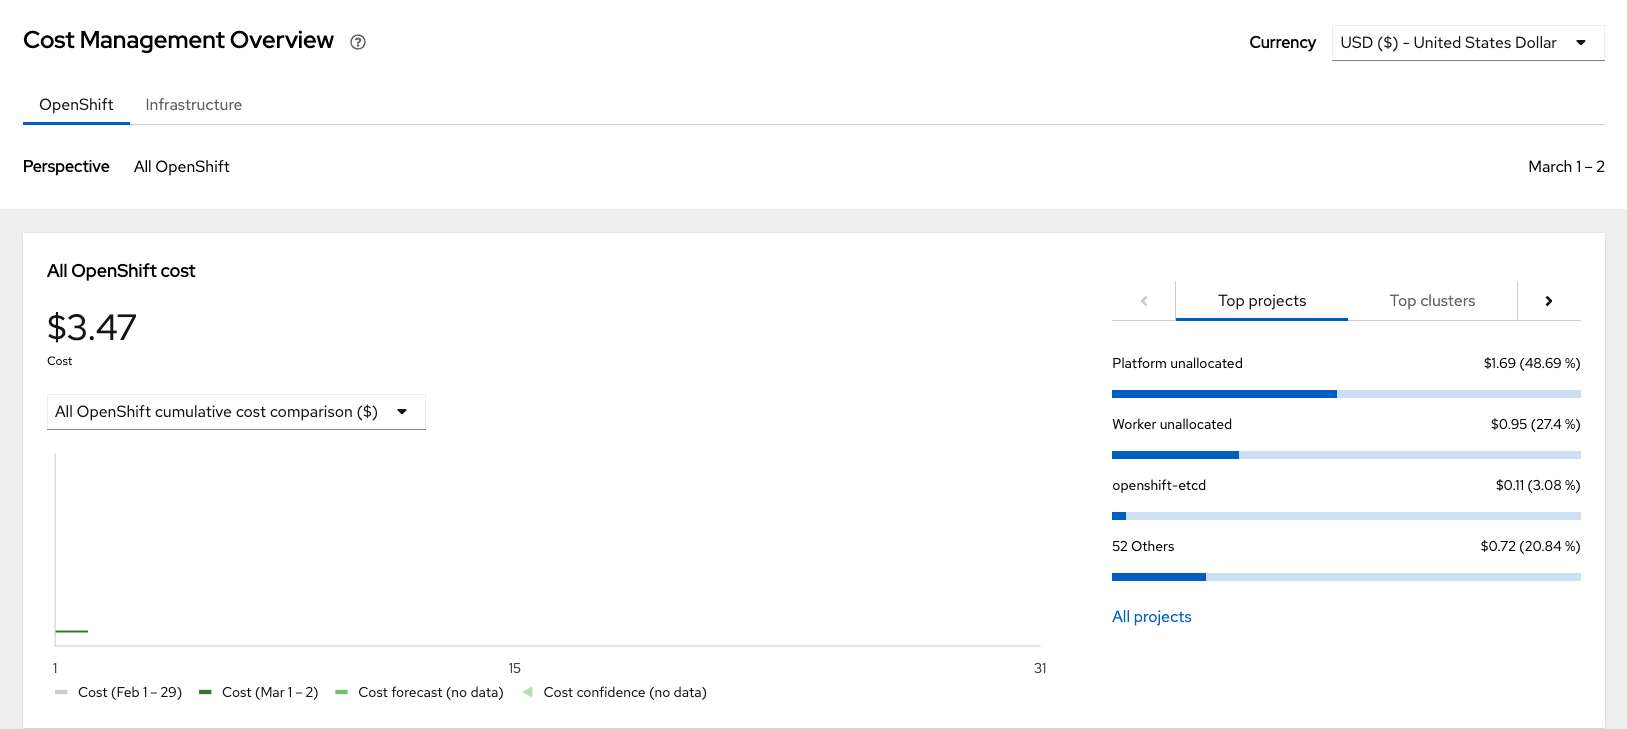
A sample dashboard for all OpenShift costs in the cost management service. Infrastructure costs specific to Microsoft Azure:
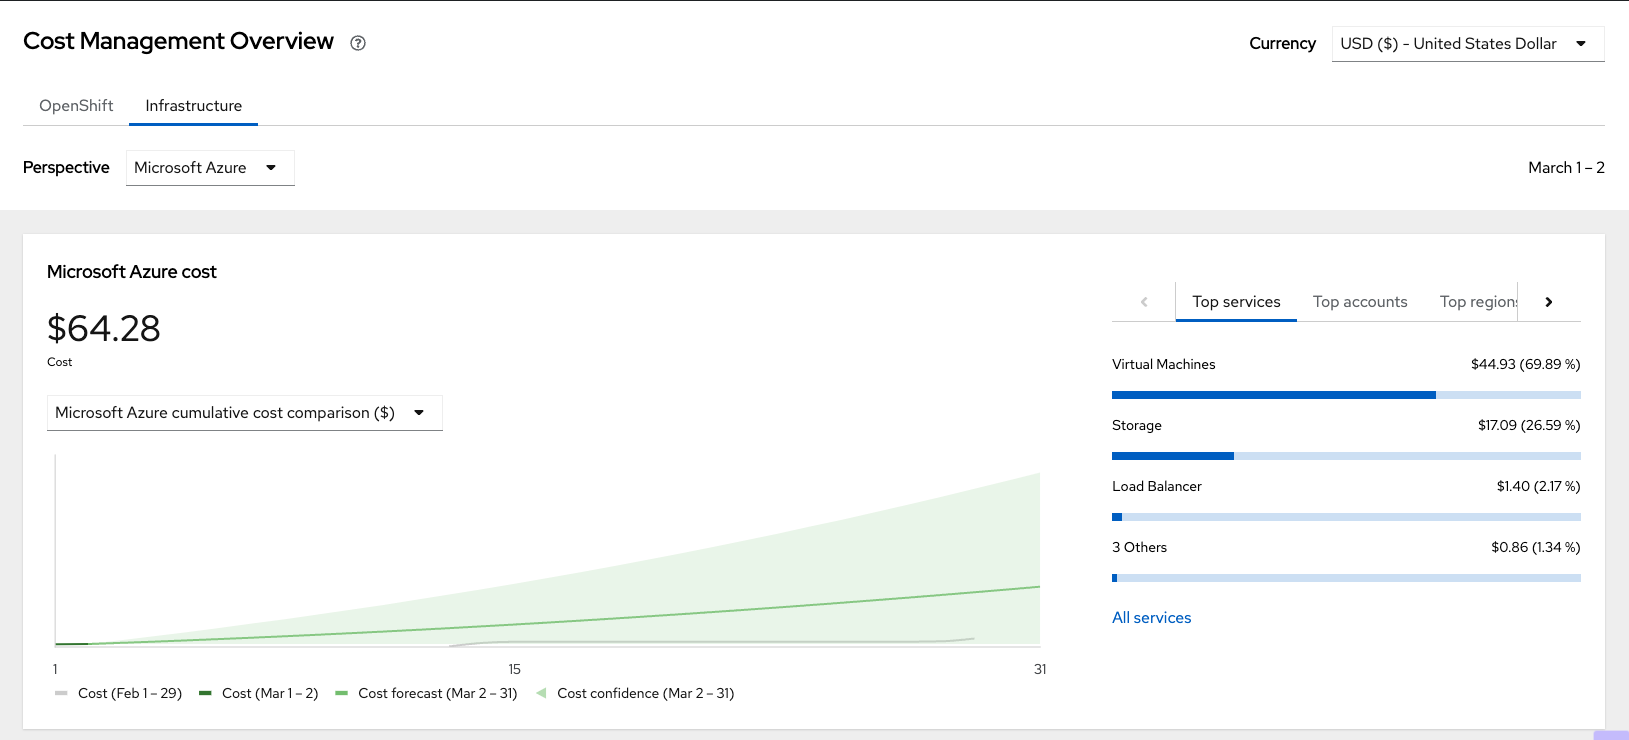
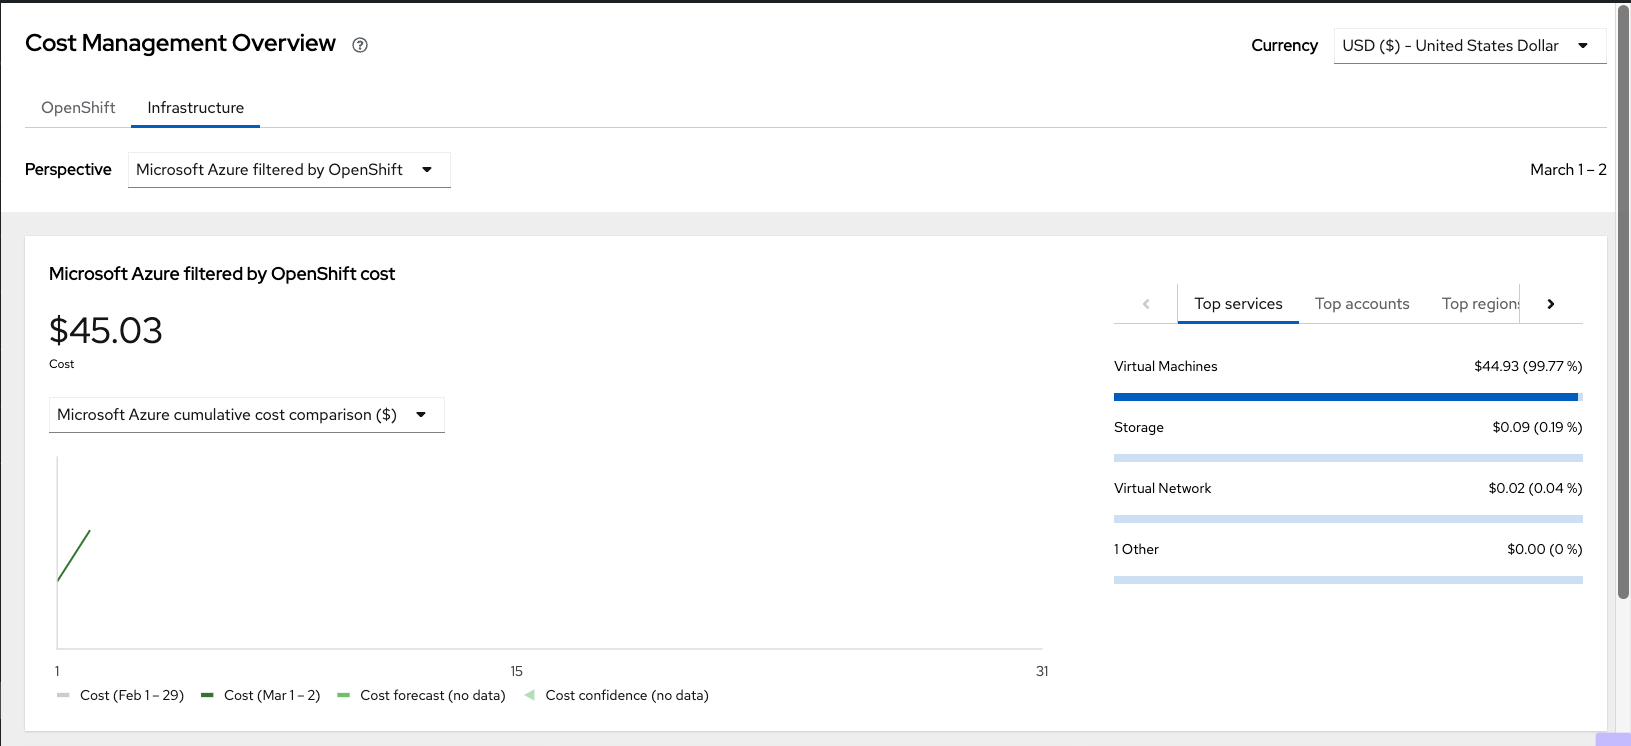
A sample dashboard for all Azure infrastructure costs in the cost management service. 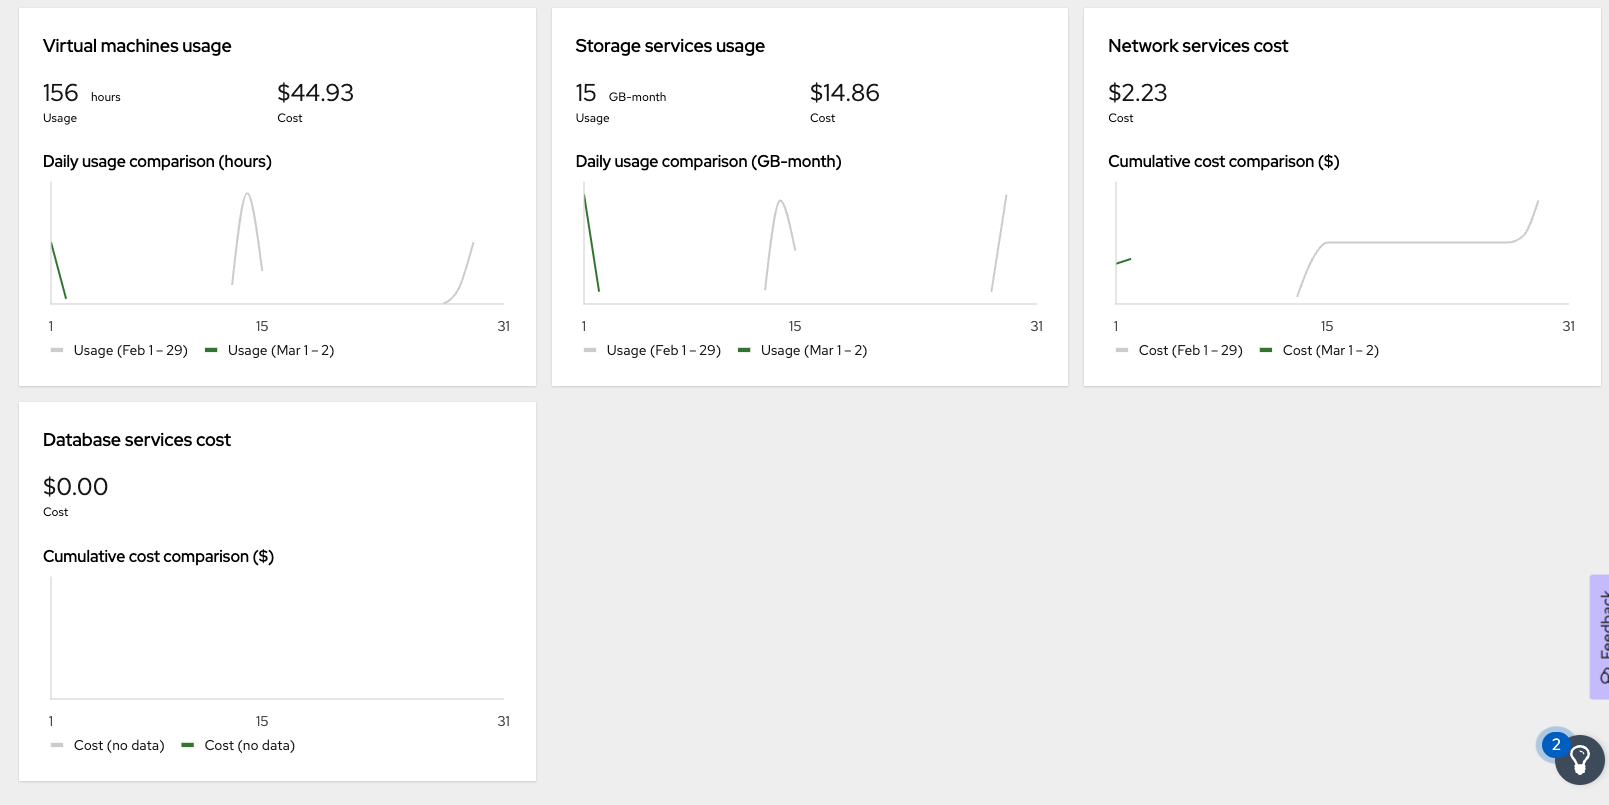
A sample dashboard for all Azure infrastructure costs in the cost management service. Infrastructure costs specific to Microsoft Azure on Red Hat OpenShift:
A sample dashboard for all ARO costs in the cost management service. 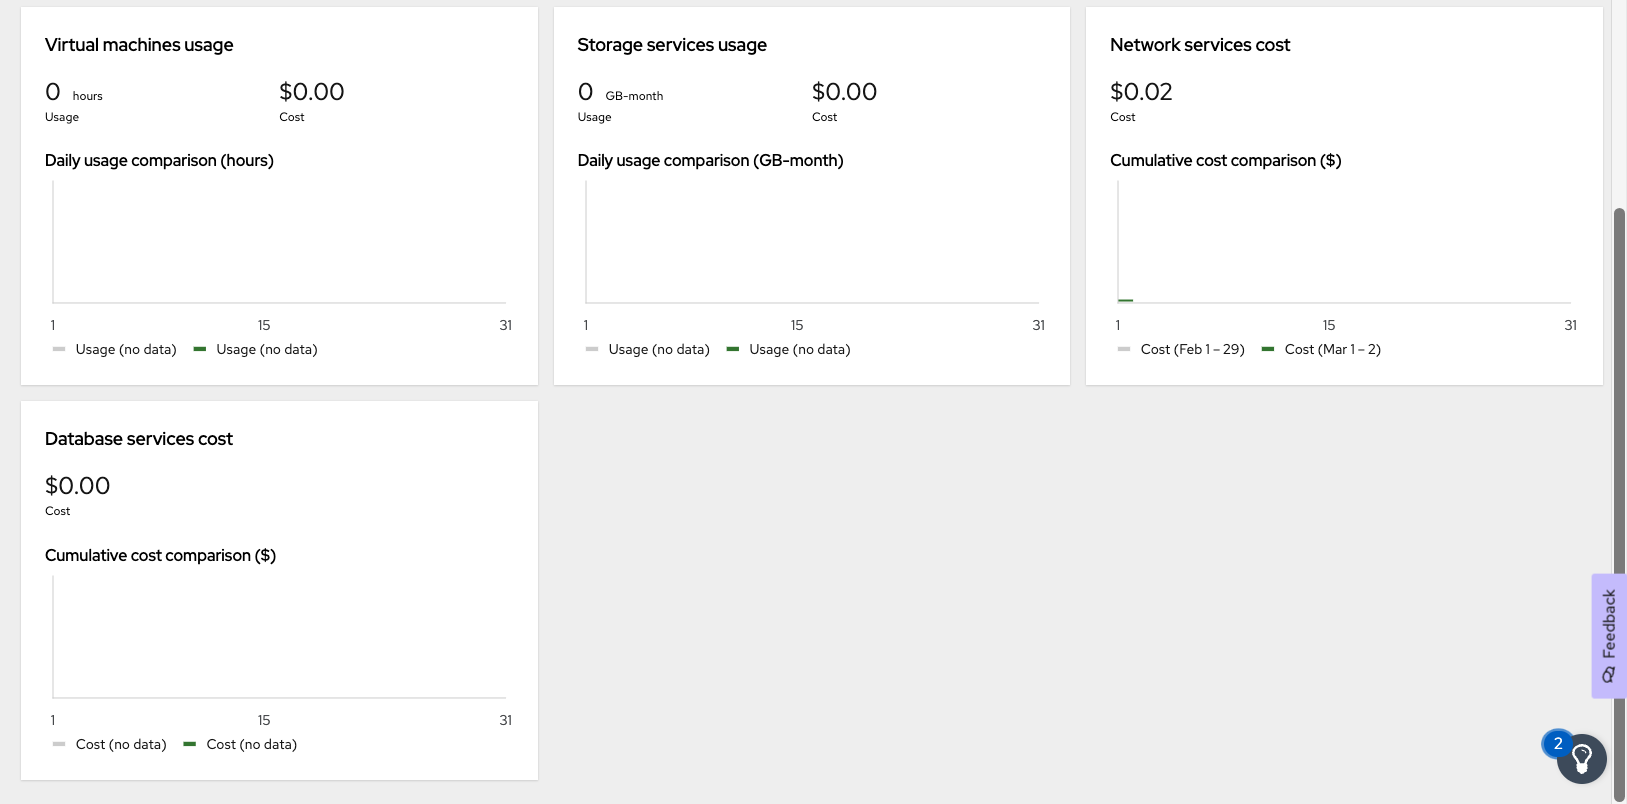
A sample dashboard for all ARO infrastructure costs in the cost management service.
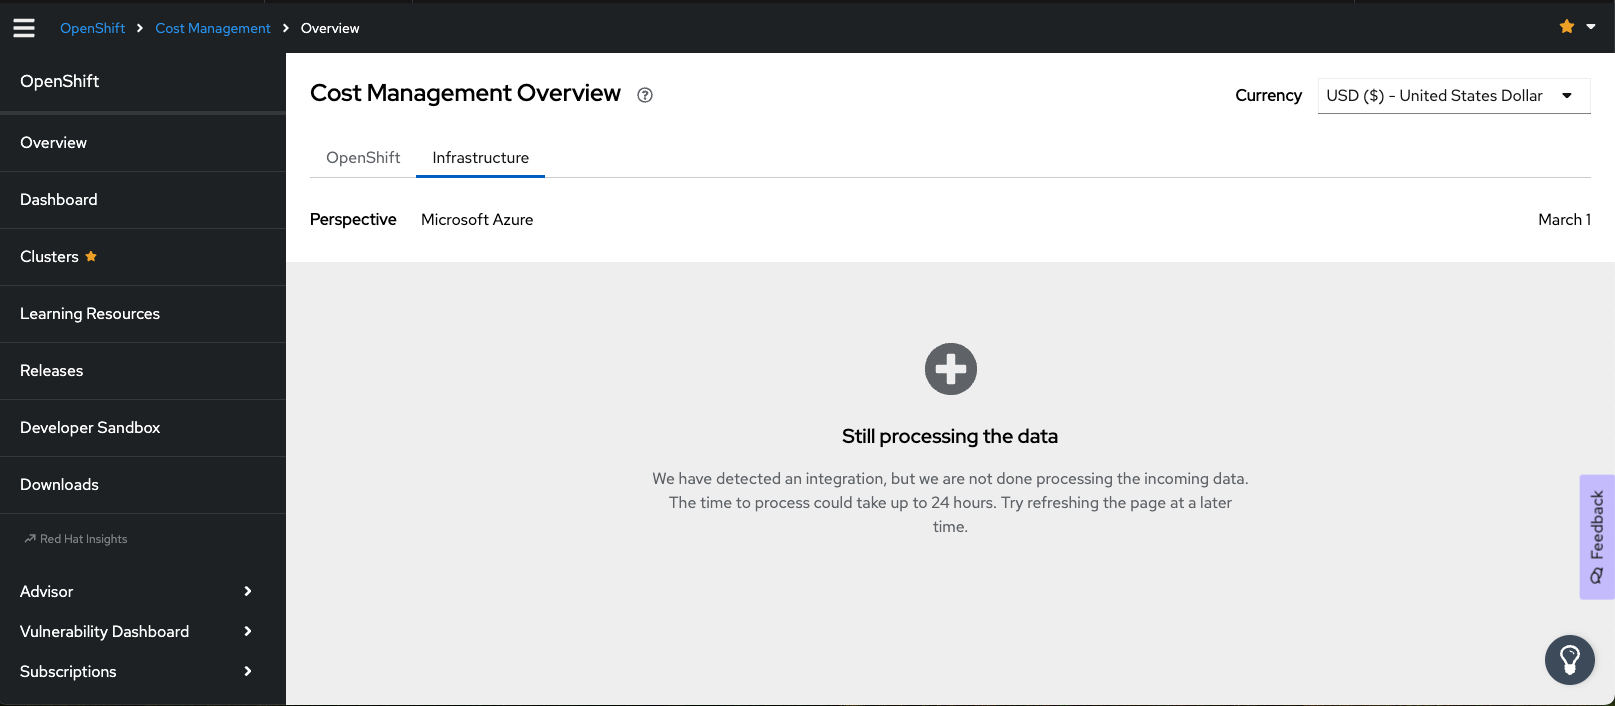
Note: If you see a “Still processing the data” message, you should wait up to 24 hours for data processing.
Validation
To ensure that all your settings are correct, you can follow these steps:
- Under the OpenShift Console, go to Administrator > Operators > Installed Operators > costmanagement-metrics-operator.3.2.0 > CostManagementMetricsConfig details.
Click the YAML tab and search for “last_successful_upload_time” to verify that your data is successfully uploading.
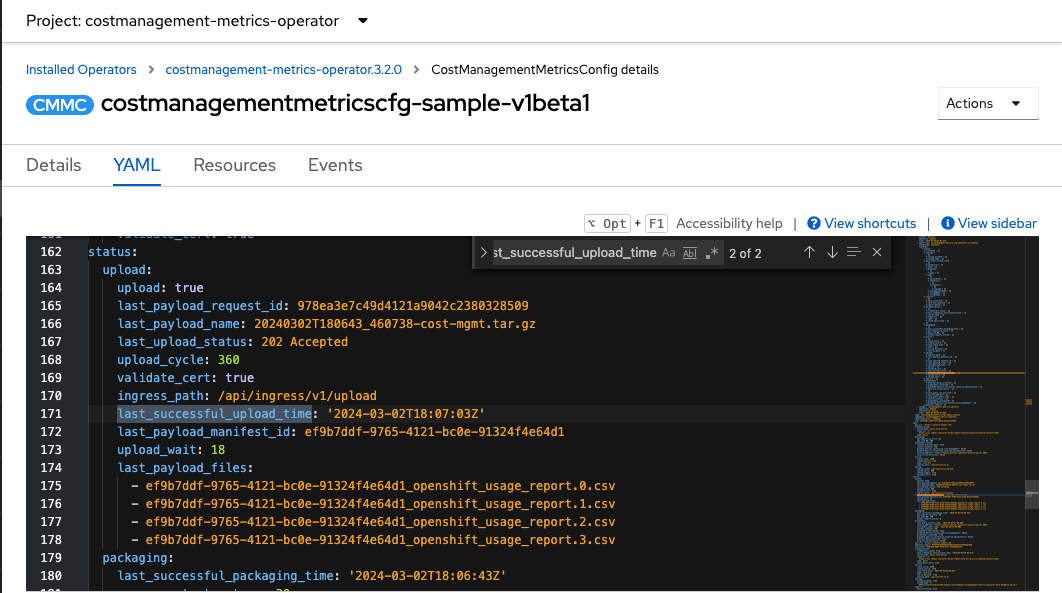
Validate your settings in the Operator project view under the YAML tab.
