Deploying Openshift Virtualization on ROSA with NetApp FSx storage.
This content is authored by Red Hat experts, but has not yet been tested on every supported configuration.
OpenShift Virtualization is a feature of OpenShift that allows you to run virtual machines alongside your containers. This is useful for running legacy applications that can’t be containerized, or for running applications that require special hardware or software that isn’t available in a container.
In this tutorial, I’ll show you how to deploy OpenShift Virtualization on Red Hat OpenShift on AWS (ROSA) using the AWS NetApp FSx service (specifically NFS, not ISCSI or SAN) to provide resilience and live migration. I’ll show you how to create a ROSA cluster, deploy the OpenShift Virtualization operator, deploy the NetApp Trident Operator and create a virtual machine.
If you’re planning to deploy OpenShift Virtualization in a production environment, you should follow the official documentation and best practices.
Pre-requisites
- A ROSA Cluster (see Deploying ROSA HCP with Terraform )
- An AWS account with permissions to create FSx for ONTAP
- The
gitbinary installed on your machine. You can download it from the git website . - The
virtctlbinary installed on your machine. You can follow installation instructions on the OpenShift website .
Note: This guide re-uses environment variables from the Deploying ROSA HCP with Terraform guide. If you have an existing cluster, you’ll need to set them appropriately for the cluster.
Prepare the Environment
-
Run this these commands to set some environment variables to use throughout (Terraform commands need to be run in the directory you ran Terraform)
-
Create a bare metal machine pool
Note: bare metal machines are not cheap, so be warned!
Provision FSx for ONTAP
-
Change to a directory to clone the FSx for ONTAP CloudFormation template
-
Create the CloudFormation Stack
Note: As of this writing, you may need to open the ./FSxONTAP.yaml file and edit the TridentIAMPolicy name if there
are multiple Cloudformation Stack instances deployed, because this stack attempts to create an IAM policy with a hard-coded name and duplicate policy
names are not allowed via the AWS API. The conflict is in the YAML file around line 299 and looks as
follows: ManagedPolicyName: 'TridentIAMPolicy'. Until this is corrected in the upstream Git repo, the Cloudformation
Stack cannot be run multiple times.
Note: Make sure generated FSX_ADMIN_PASS and SVM_ADMIN_PASS passwords are per Fsx password policy , otherwise following clodformation will fail.
-
Fsx CloudFormation:
This can take some time, so we can go ahead and deploy the OpenShift Virtualization Operator while we wait.
Deploy the OpenShift Virtualization Operator
-
Deploy the OpenShift Virtualization Operator
-
If you want to see the progress of the operator you can log into the OpenShift Console (hint run
oc whoami --show-consoleto get the URL)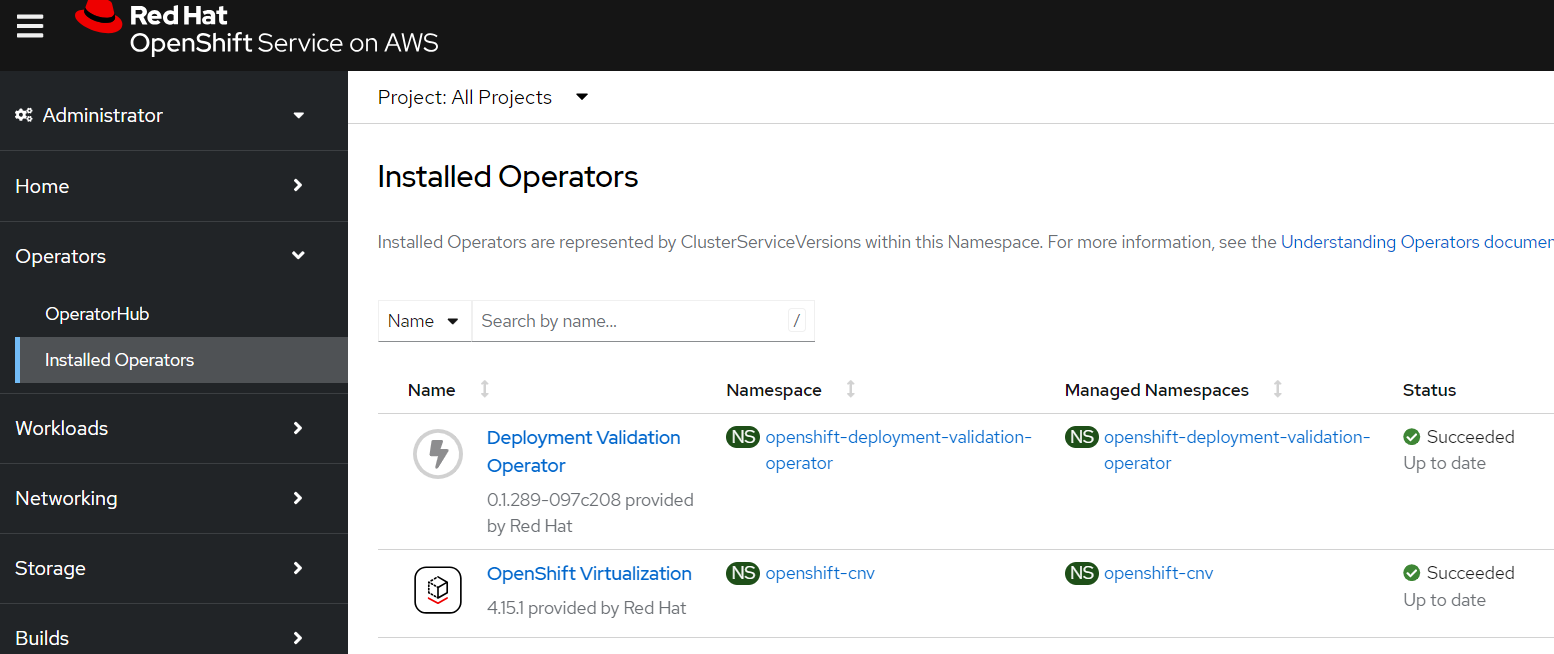
-
Create an OpenShift Virtualization operand
Note: this is all defaults, so will not support a lot of the more advanced features you might want such as live migration.
-
New “Virtualization” Section in the OpenShift Console
Once the operator is installed you should see a new “Virtualization” section in the OpenShift Console (you may be prompted to refresh the page)
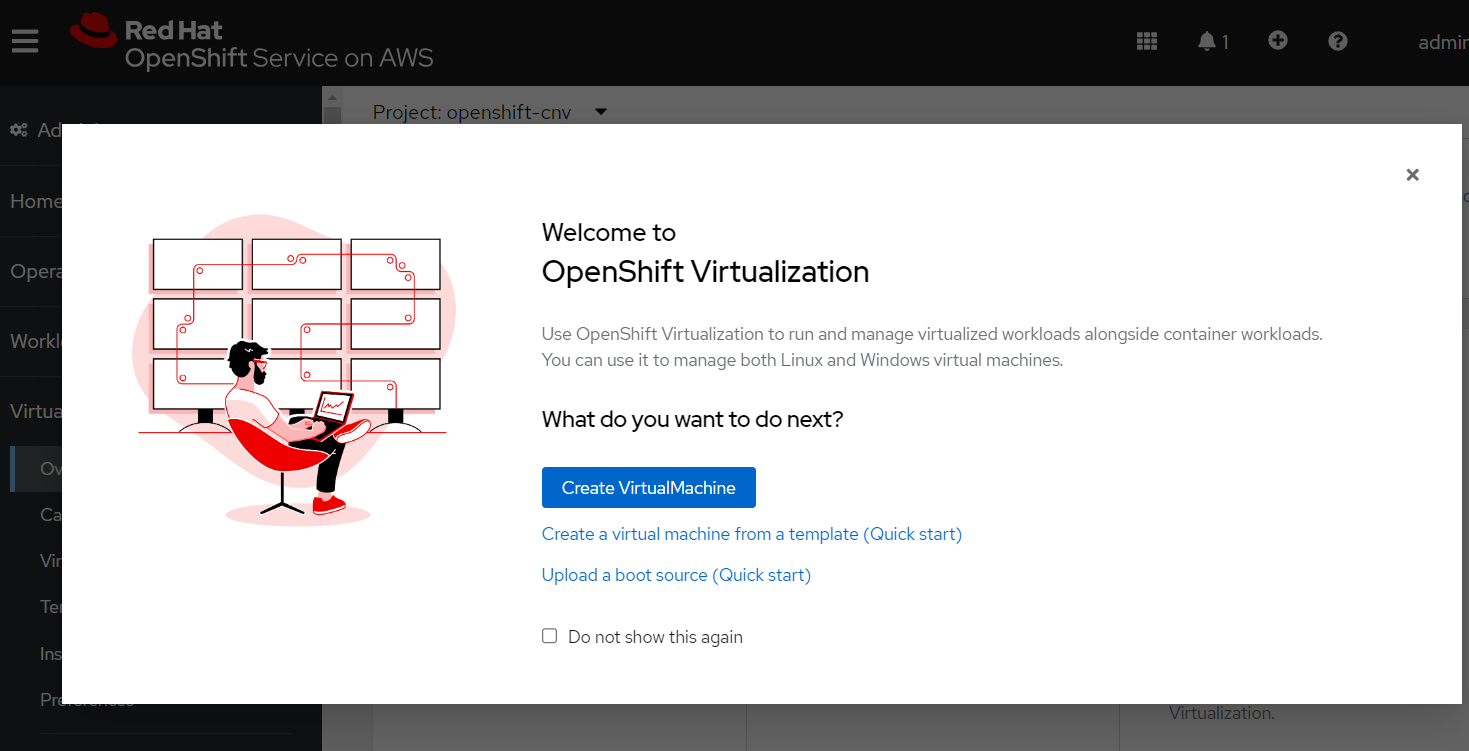
-
Close the popup window and click the “Download virtctl” button to download the
virtctlbinary.
Install and Configure the Trident CSI driver
-
Verify the cloudformation stack is complete
-
Get the FSx ONTAP filesystem id
-
Get the FSx Management and NFS LIFs
-
Add the NetApp Helm Repository
-
Install the Trident CSI driver
-
Make sure the trident pods are running
-
Create a secret containing the SVM credentials
-
Create a BackendConfig for the FSx ONTAP
Create a Virtual Machine
-
Create a project and a secret containing your public SSH key
-
Create a VM
-
Watch for the VM to be ready
-
SSH into the VM
Note: Be sure you have a compatible
virtctlbinary otherwise this command may fail if you installed an incompatible version (e.g.brew install virtctl). Proper installation instructions will always be located in the OpenShift documentation ( https://docs.openshift.com/container-platform/4.15/virt/getting_started/virt-using-the-cli-tools.html) .Output:
-
Check what node the VM is deployed on
-
Live migrate the VM
-
Wait a moment, and check the node again
Congratulations! You now have a virtual machine running on OpenShift Virtualization on ROSA, and you’ve successfully live migrated it between hosts.
Cleanup
-
Delete the VM
-
Uninstall the Trident CSI driver
-
Delete the FSx Storage Volumes (except for “SVM1_root” volume)
-
Wait until the volumes are deleted
-
Delete the FSx for ONTAP stack
-
Wait for the stack to be deleted
-
Delete the ROSA HCP Cluster
If you used the Terraform from the Deploying ROSA HCP with Terraform guide, you can run the following command to delete the cluster from inside the terraform repository: