Deploying OpenShift Virtualization on ARO
This content is authored by Red Hat experts, but has not yet been tested on every supported configuration.
OpenShift Virtualization is a feature of OpenShift that allows you to run virtual machines alongside your containers. This is useful for running legacy applications that can’t be containerized, or for running applications that require special hardware or software that isn’t available in a container.
In this tutorial, I’ll show you how to deploy OpenShift Virtualization on Azure Red Hat OpenShift (ARO). I’ll show you how to create an ARO cluster, deploy the OpenShift Virtualization operator, and create a virtual machine.
It’s important to keep in mind that this tutorial is designed to show you the quickest way to get started with OpenShift Virtualization on ARO. It’s not designed to be a production-ready deployment. If you’re planning to deploy OpenShift Virtualization in a production environment, you should follow the official documentation and best practices.
Pre-requisites
You will need an 4.18+ ARO Cluster (see Deploying ARO using azurerm Terraform Provider if you need help creating one).
Note: as of the writing of this guide 4.19 was used
CLIs and Command Line Tools Needed
- oc (logged into the ARO cluster)
- jq
- yq
- Environment Variables
export SCRATCH_DIR="/Users/kevincollins/scratch/aro-virt"
export ARO_BOOST_INSTANCE="Standard_D8s_v5" #note you can choose any Dsv5 instance type
export VIRT_MACHINESET_NAME="virt-worker"
mkdir -p ${SCRATCH_DIR}
Create a machine pools for VMs
- Create Azure Boost Machine Sets
The following will create a machine set for VMs in each availability zone the cluster is in
for MACHINESET_NAME in $(oc get machineset -n openshift-machine-api -o json | jq -r '.items[].metadata.name'); do
VIRT_NAME=$(echo "${MACHINESET_NAME}" | sed "s/.*-worker/${VIRT_MACHINESET_NAME}/")
oc get machineset "${MACHINESET_NAME}" -n openshift-machine-api -o yaml | \
yq e ".metadata.name = \"${VIRT_NAME}\" | \
.spec.selector.matchLabels.\"machine.openshift.io/cluster-api-machineset\" = \"${VIRT_NAME}\" | \
.spec.template.metadata.labels.\"machine.openshift.io/cluster-api-machineset\" = \"${VIRT_NAME}\" | \
.spec.template.spec.providerSpec.value.vmSize = \"${ARO_BOOST_INSTANCE}\"" - > "${SCRATCH_DIR}/${VIRT_NAME}.yaml"
oc apply -f "${VIRT_NAME}.yaml"
done
Install OpenShift Virtualization Operators
Deploy the OpenShift Virtualization Operator
cat << EOF | oc apply -f - apiVersion: v1 kind: Namespace metadata: name: openshift-cnv --- apiVersion: operators.coreos.com/v1 kind: OperatorGroup metadata: name: kubevirt-hyperconverged-group namespace: openshift-cnv spec: targetNamespaces: - openshift-cnv --- apiVersion: operators.coreos.com/v1alpha1 kind: Subscription metadata: name: hco-operatorhub namespace: openshift-cnv spec: source: redhat-operators sourceNamespace: openshift-marketplace name: kubevirt-hyperconverged channel: "stable" EOF
If you want to see the progress of the operator you can log into the OpenShift Console (hint run
oc whoami --show-console
to get the URL)
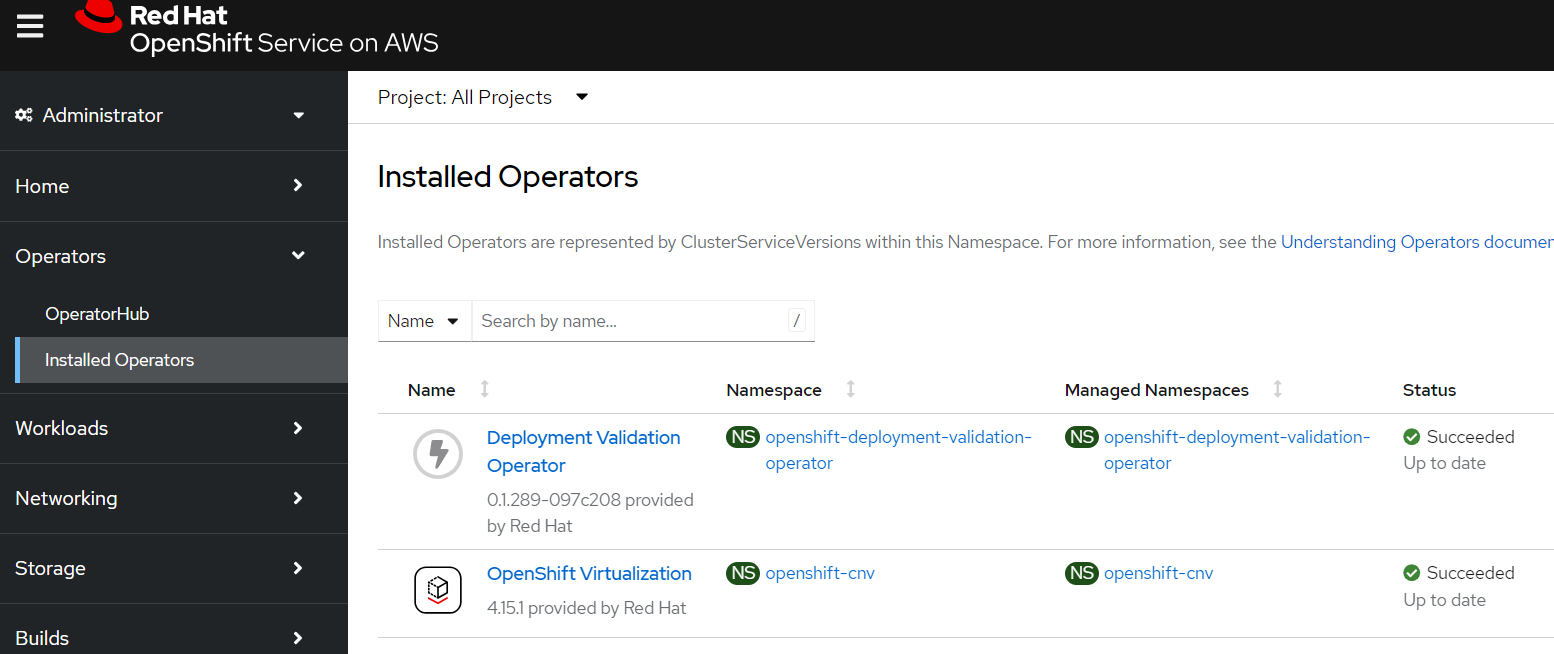
Create an OpenShift Virtualization operand
Note: this is all defaults, so will not support a lot of the more advanced features you might want.
cat << EOF | oc apply -f - apiVersion: hco.kubevirt.io/v1beta1 kind: HyperConverged metadata: name: kubevirt-hyperconverged annotations: deployOVS: 'false' namespace: openshift-cnv spec: enableCommonBootImageImport: true virtualMachineOptions: disableFreePageReporting: false disableSerialConsoleLog: false higherWorkloadDensity: memoryOvercommitPercentage: 100 liveMigrationConfig: allowAutoConverge: false allowPostCopy: false completionTimeoutPerGiB: 150 parallelMigrationsPerCluster: 5 parallelOutboundMigrationsPerNode: 2 progressTimeout: 150 certConfig: ca: duration: 48h0m0s renewBefore: 24h0m0s server: duration: 24h0m0s renewBefore: 12h0m0s enableApplicationAwareQuota: false applicationAwareConfig: allowApplicationAwareClusterResourceQuota: false vmiCalcConfigName: DedicatedVirtualResources featureGates: downwardMetrics: false disableMDevConfiguration: false deployKubeSecondaryDNS: false alignCPUs: false persistentReservation: false workloadUpdateStrategy: batchEvictionInterval: 1m0s batchEvictionSize: 10 workloadUpdateMethods: - LiveMigrate deployVmConsoleProxy: false uninstallStrategy: BlockUninstallIfWorkloadsExist resourceRequirements: vmiCPUAllocationRatio: 10 EOF
New “Virtualization” Section in the OpenShift Console
Once the operator is installed you should see a new “Virtualization” section in the OpenShift Console (you may be prompted to refresh the page)
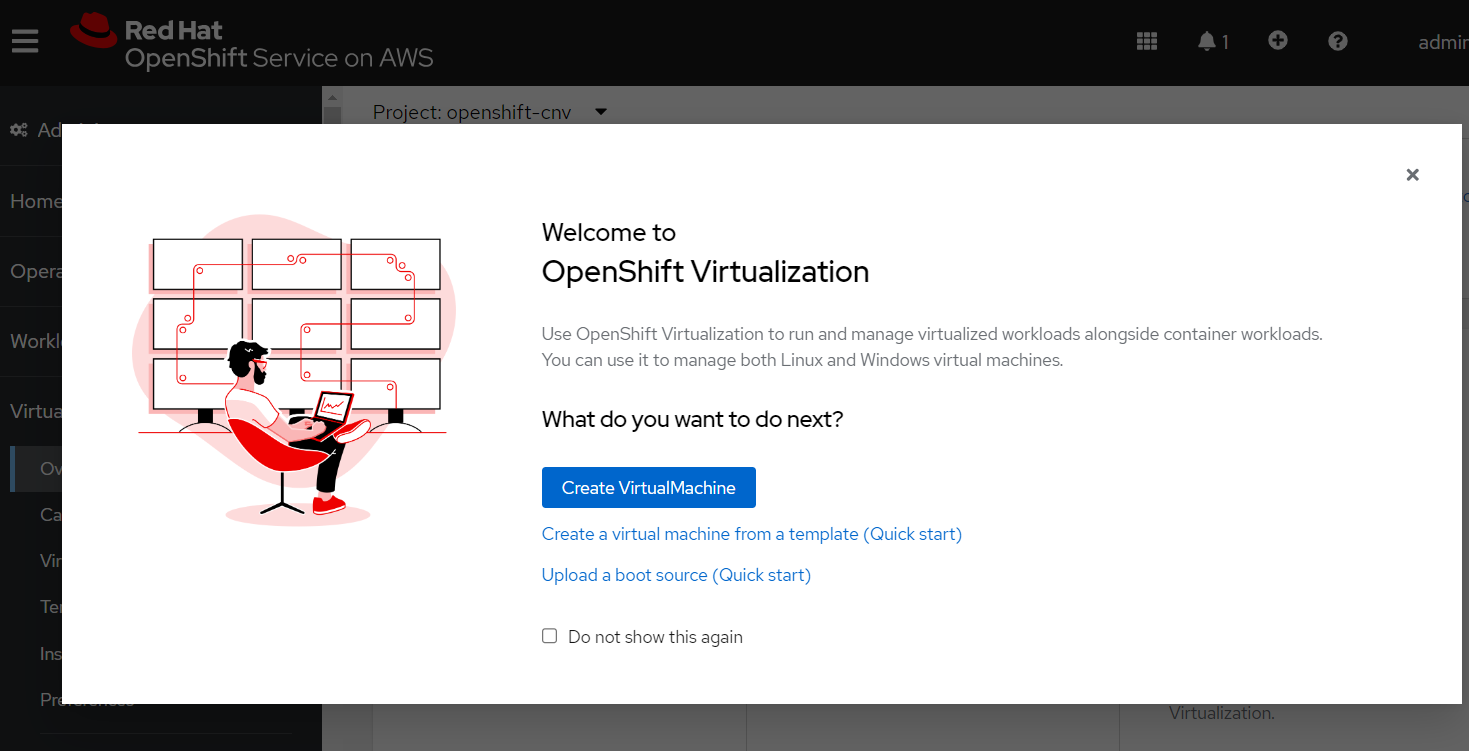
Close the popup window and click the “Download virtctl” button to download the
virtctl
binary.
Add OpenShift Data Foundation
Optional but highly recommended
To enable advanced OpenShift Virtualization features like Live Migration, you need a high-performing StorageClass. While numerous options exist, this tutorial will use OpenShift Data Foundation for storage. It offers excellent performance and has a strong record of success with OpenShift Virtualization.
Follow this guide to add OpenShift Data Foundation to your cluster.
Create a Virtual Machine
Create a project and a secret containing your public SSH key
oc new-project my-vms oc create secret generic authorized-keys --from-file=ssh-publickey=$HOME/.ssh/id_rsa.pub
Create a VM
cat << EOF | oc apply -f - apiVersion: kubevirt.io/v1 kind: VirtualMachine metadata: name: example-vm spec: dataVolumeTemplates: - apiVersion: cdi.kubevirt.io/v1beta1 kind: DataVolume metadata: name: example-vm-disk spec: sourceRef: kind: DataSource name: rhel9 namespace: openshift-virtualization-os-images storage: resources: requests: storage: 30Gi running: false template: metadata: labels: kubevirt.io/domain: example-vm spec: domain: cpu: cores: 1 sockets: 2 threads: 1 devices: disks: - disk: bus: virtio name: rootdisk - disk: bus: virtio name: cloudinitdisk interfaces: - masquerade: {} name: default rng: {} features: smm: enabled: true firmware: bootloader: efi: {} resources: requests: memory: 8Gi evictionStrategy: LiveMigrate networks: - name: default pod: {} volumes: - name: rootdisk dataVolume: name: example-vm-disk - cloudInitConfigDrive: userData: |- #cloud-config user: cloud-user password: not-a-secure-password chpasswd: { expire: False } name: cloudinitdisk accessCredentials: - sshPublicKey: propagationMethod: configDrive: {} source: secret: secretName: authorized-keys EOF
Start the VM
virtctl start example-vm
Watch for the VM to be ready
watch oc get vm example-vm
Every 2.0s: oc get vm NAME AGE STATUS READY example-vm 3m16s Running False
SSH into the VM
virtctl ssh cloud-user@example-vm -i ~/.ssh/id_rsa
Register this system with Red Hat Insights: insights-client --register Create an account or view all your systems at https://red.ht/insights-dashboard Last login: Fri May 17 16:35:39 2024 from 10.130.0.41 [cloud-user@example-vm ~]$
Congratulations! You now have a virtual machine running on OpenShift Virtualization on ARO!