
Red Hat blog

We recently introduced the Web Terminal Operator on OpenShift in Tech Preview. This operator integrates with the OpenShift console (in OpenShift 4.5.3 and higher) to allow you to open a full terminal session in the browser and interact with the cluster, without installing any tools locally.
When you click the “open terminal” button and select a project, the Web Terminal Operator will create resources on the cluster and log you in to your OpenShift account in a container. This container comes with common command-line tools such as tkn (the Tekton CLI), kn (the Knative CLI), Helm, and odo, in addition to the standard tools oc and kubectl.
In this article, we will dive into some of the internals of how the operator works and look at a few advanced options for customization.
Background
At a high level, a web terminal instance consists of:
- A tooling container, which is just a container image that has the tooling you need (a shell, an editor, and CLI tools) installed.
- The Web Terminal plugin container, which manages login and setting up a shell session with the cluster.
- A service to allow the OpenShift console to communicate with the Web Terminal plugin container.
The Web Terminal Operator initially came about while we were working on implementing an operator, bootstrapped by the Operator SDK, that was capable of creating and maintaining Eclipse Che workspaces on a cluster. In fact, Web Terminal instances are effectively slimmed-down, editor-free Eclipse Che workspaces. The Web Terminal plugin is a slightly-modified version of the plugin that enables opening terminals within Che workspaces, and the tooling pod is similar to the main container defined by an Eclipse Che devfile.
When installed on a cluster, the Web Terminal Operator creates the DevWorkspace custom resource definition (CRD), which holds a description of the web terminal to be deployed. An example of the default resource created by the OpenShift console is shown below:
kind: DevWorkspace
apiVersion: workspace.devfile.io/v1alpha1
metadata:
  name: web-terminal
  annotations:
    controller.devfile.io/restricted-access: "true"
  labels:
    console.openshift.io/terminal: "true"
spec:
  started: true
  routingClass: 'web-terminal'
  template:
    components:
      - plugin:
          name: web-terminal
          id: redhat-developer/web-terminal/4.5.0
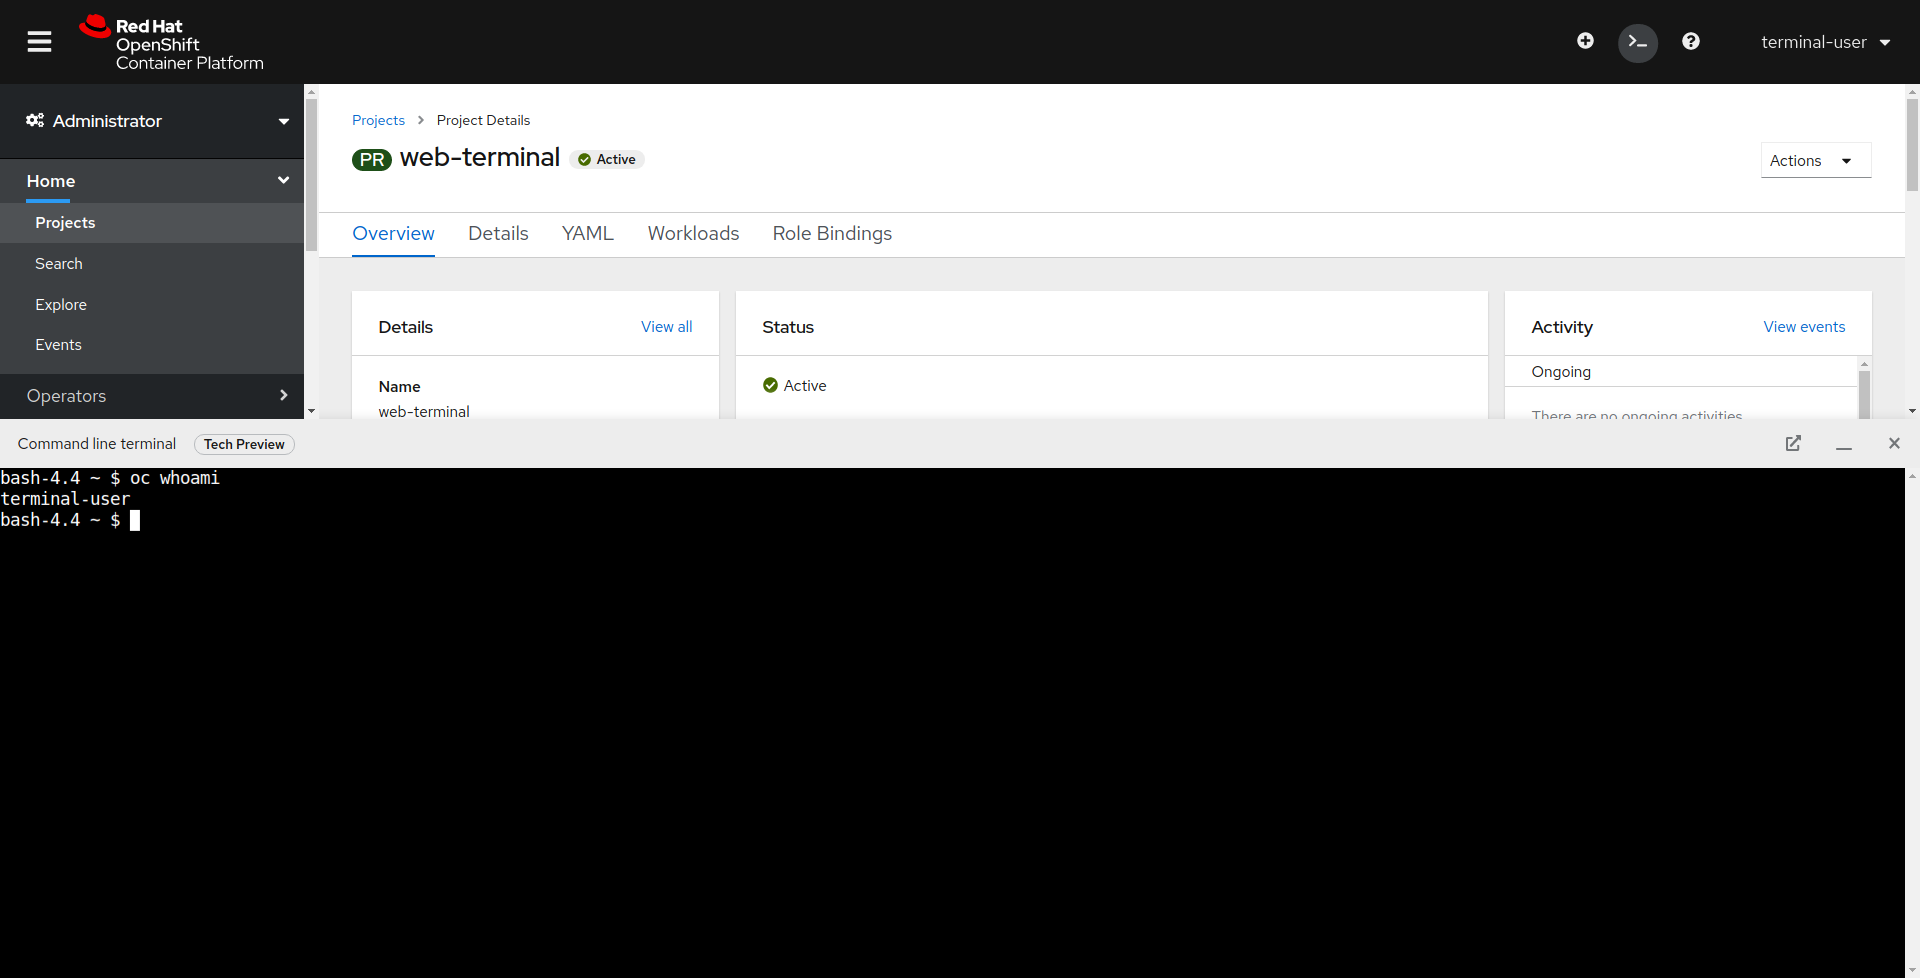
When a custom resource like the one above is created on the cluster, the Web Terminal Operator will automatically create a deployment, service, and related OpenShift objects on the cluster. Once the deployment is ready and everything is up and running, the OpenShift console sends your access token to the web terminal plugin, which in turn generates a kubeconfig on the tooling pod. Finally, the console opens a terminal session into the tooling pod, giving you access to a logged-in shell with pre-installed tools.
Since we are storing access tokens inside a container running on the cluster, we have to be careful to ensure that only the intended user of the terminal can access the pod. For the Web Terminal Operator, we do this using webhooks: A mutating webhook tags the DevWorkspace with the UID of the user who created it, and then a validating webhook prevents any other user from opening an exec into the terminal containers. Additionally, the mutating webhook blocks all changes to the DevWorkspace resource once it is created (except for its owner), ensuring that defeating the webhooks protecting the workspace is not as simple as removing a label.
Customizing Terminal Tooling
The DevWorkspace sample above is a minimal example that is used as a default by the OpenShift console. There are various parts of the DevWorkspace spec (the full spec is larger than what is required for the web terminal), but the two important parts for our uses are the metadata and the template. The annotations and labels are used by the console to find a suitable terminal instance:
- The annotation
controller.devfile.io/restricted-accessasserts that we want to restrict access to the DevWorkspace instance; if it is set to "true", the operator will refuse to start the web terminal unless webhooks are available. - The label
console.openshift.io/terminalis used by the OpenShift console to find DevWorkspace instances it can inject a token into.
These labels must be set to allow the OpenShift console to know where to look when attempting to create a terminal session.
The spec template is what defines the core of the DevWorkspace. The default example above lists one component: the Web Terminal plugin. Since no additional components are defined, the Web Terminal Operator will add the default tooling container, which contains our CLI tools and uses the bash shell. However, by defining our own component in addition to the Web Terminal plugin, we can override this default image and use whichever one we choose:
  template:
    components:
      - plugin:
          name: web-terminal
          id: redhat-developer/web-terminal/4.5.0
      - container:
          name: dev
          image: quay.io/wto/web-terminal-tooling:1.0.0
          memoryLimit: 256Mi
          args: ["tail", "-f", "/dev/null"]
Here, we have added a container component to the spec. The container element in a DevWorkspace custom resource has fields that will seem familiar if you have written an OpenShift Pod specification in the past. We define a container image to be used, a memory limit, and arguments to pass to the container’s entrypoint (here, we use a simple non-terminating command to ensure the container does not stop immediately).
By swapping out the image used above, we can replace the default image used to support the Web Terminal to better suit our needs. For example, we could build a container that:
- Has additional tools installed, such as command-line utilities for testing networking
- Uses a different shell instead of bash
- Contains our familiar configuration files in the image, so that the terminal behaves the same as on our local machine
Once we have a custom image to replace the default, we can create the custom YAML above on the cluster. Once the DevWorkspace is created and running, clicking the "Create terminal" button will automatically pick up the custom resource and use it for the terminal.
Try It Out Now
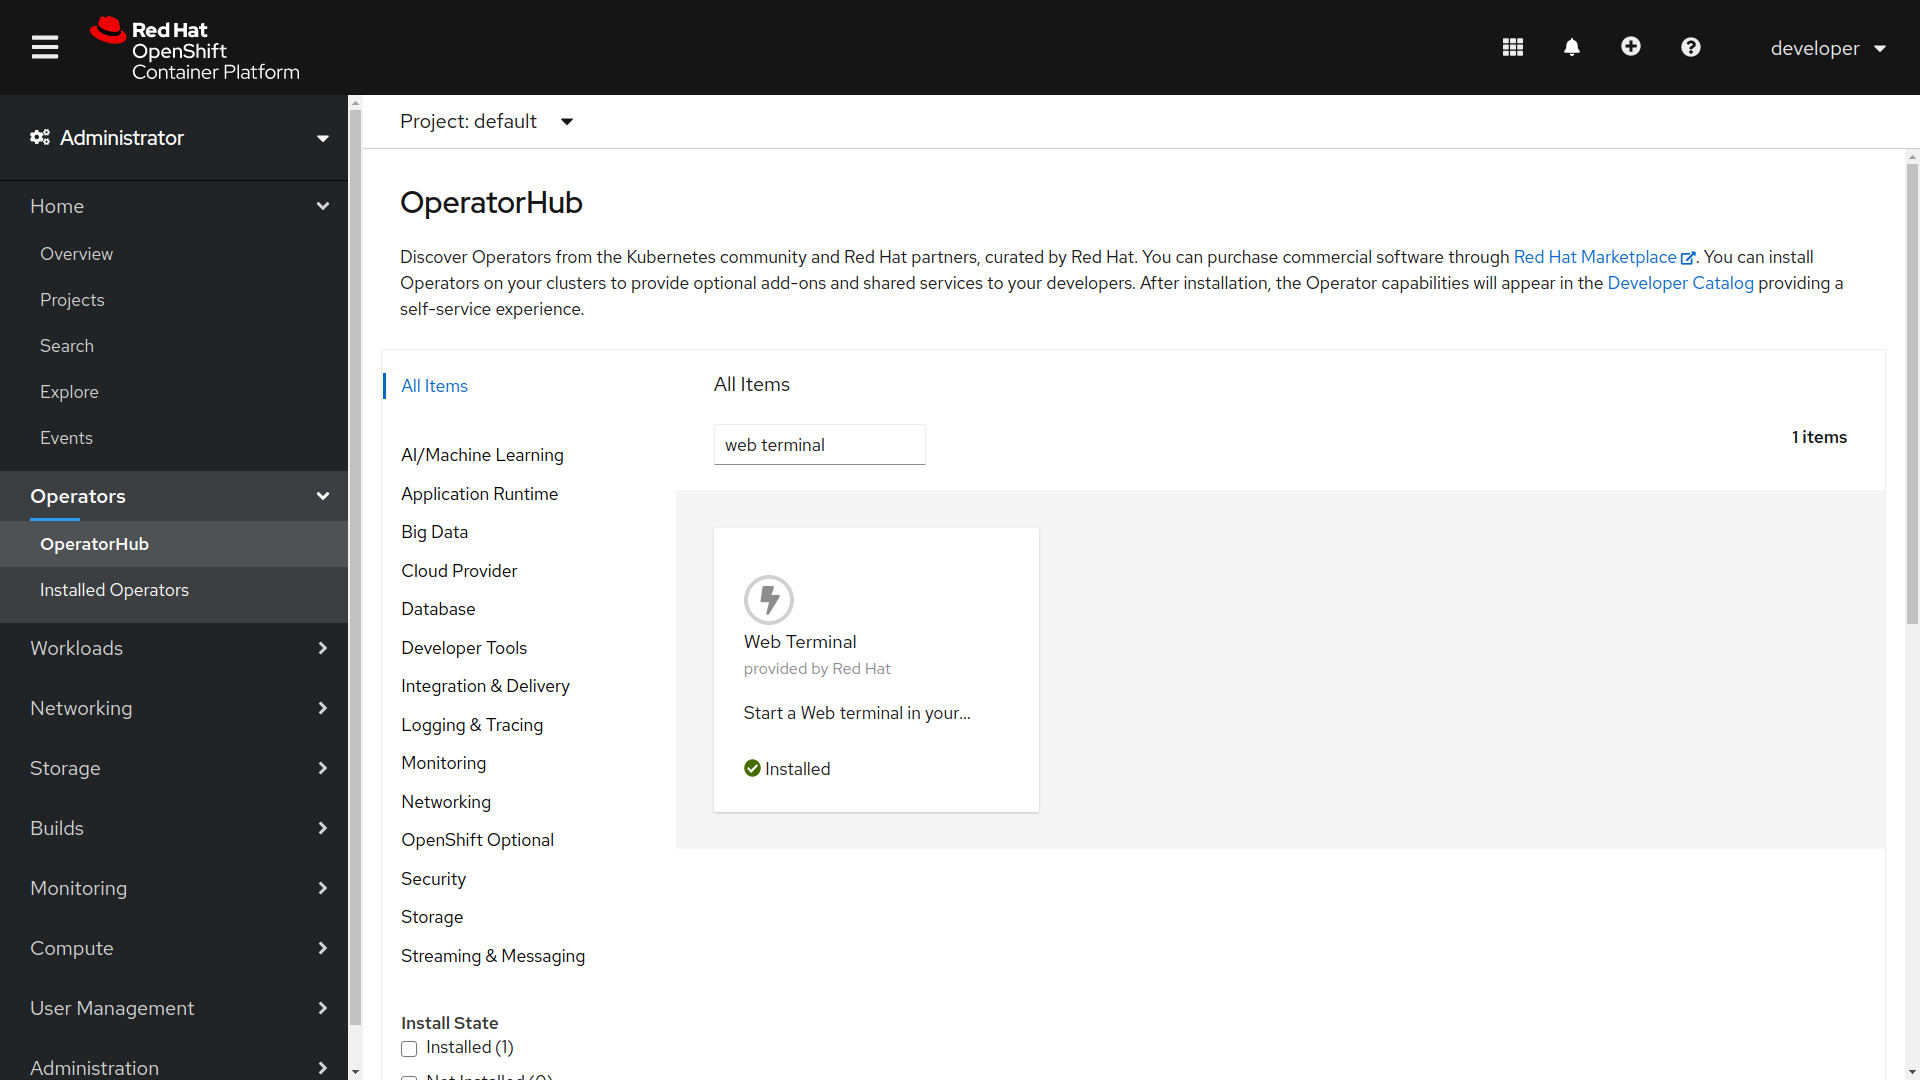
The Web Terminal operator can be installed via the OperatorHub in the OpenShift UI:

Once it is installed, you should see a button for creating terminals at the top of the page (you may need to refresh the browser):

Clicking it will allow you to choose a namespace to create the terminal in and begin the session. For the Tech Preview release of the operator, only regular cluster users (for example, non-cluster-admins) are allowed to create terminals. To avoid wasting resources, web terminals are automatically scaled down after 15 minutes of inactivity.
To use a customized DevWorkspace in place of the default, you will need to create the custom resource manually using the YAML spec described above. Once it is created and running, clicking the create terminal button should automatically log you in and open a terminal session in your custom Web Terminal.
If you encounter issues with the operator, please open an issue on Jira.
What’s Next
We have various plans for what is to come next for the Web Terminal Operator. For the operator and the OpenShift console integration, we plan on simplifying the process of using a custom container image for your web terminal, removing the need to manually create a custom resource each time. We are also working on lifting the restriction on creating terminals as a cluster admin and hope to have that in place in the near future.
In the larger picture, we are continuing to work on supporting full Eclipse Che workspaces in the operator and eventually integrating the operator as a part of Eclipse Che itself. Eventually, it will be possible to add more components to a DevWorkspace custom resource and quickly get access to a full developer environment within the OpenShift cluster.
Additional Links
- Browse the project on GitHub: the controller used in Web Terminal Operator, the Web Terminal Operator itself, and the default tooling image.
- View the Eclipse Che project, which inspired the Web Terminal Operator.
- Read about the Operator Framework, used to build the Web Terminal Operator.